Sound is interrupted

If there are frequent sound interruptions, following the steps below may solve the problem.
Follow the steps to check whether there is any abnormality with the sound output.
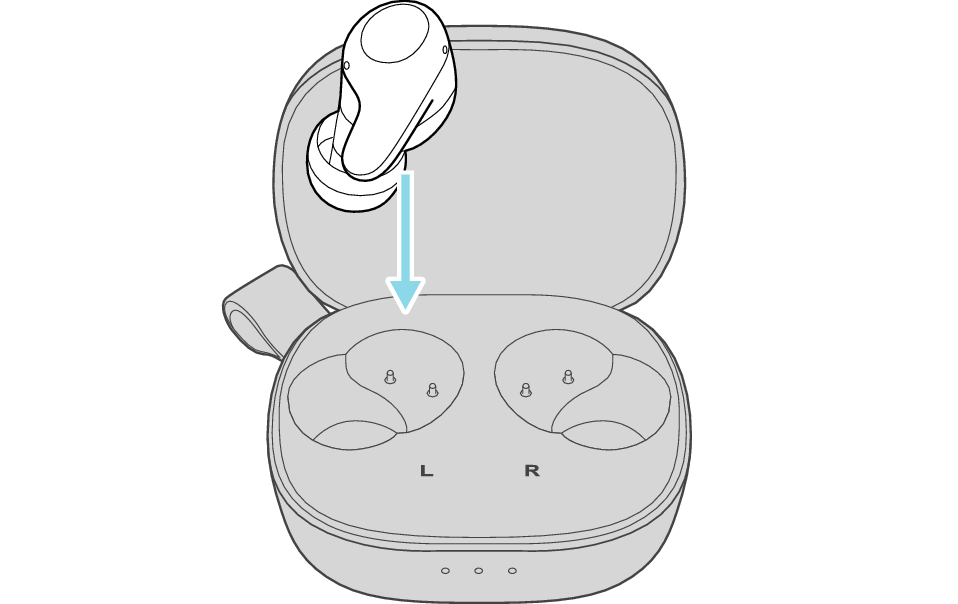
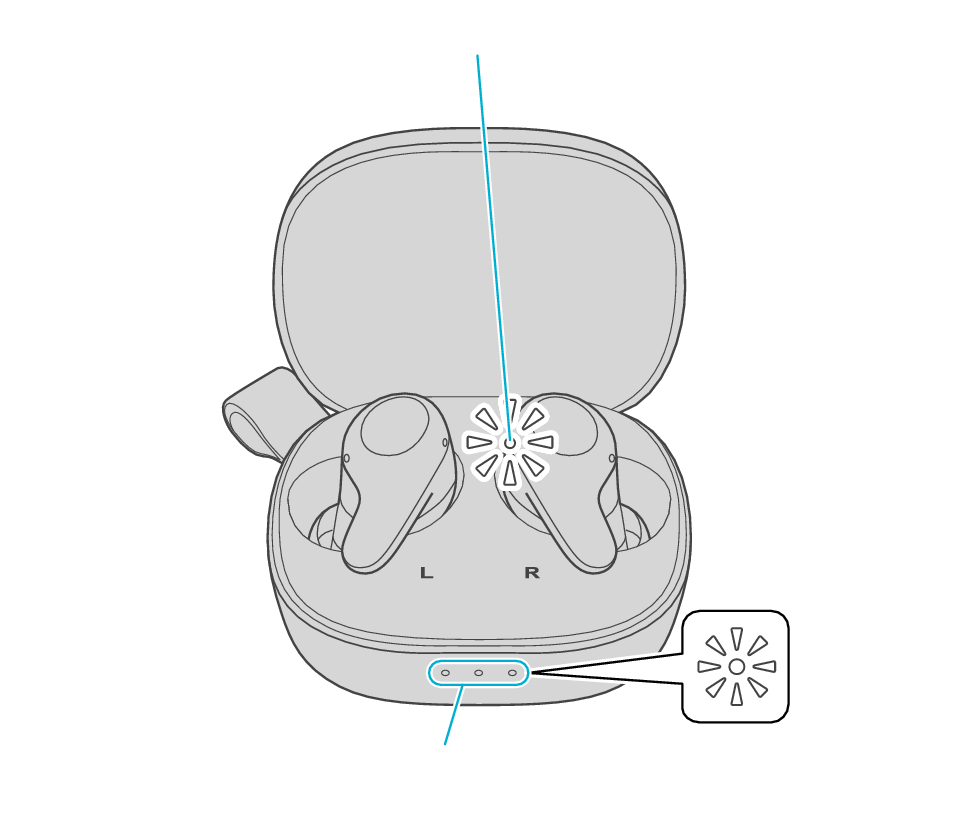
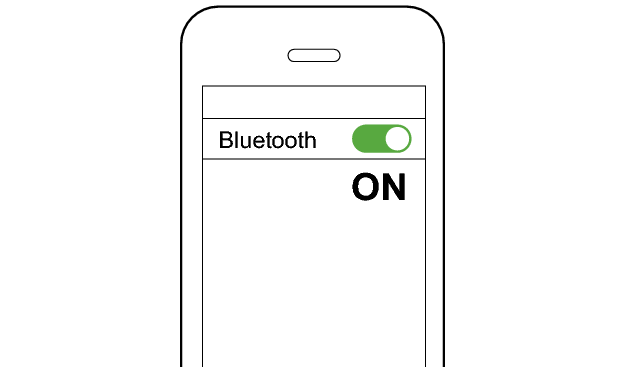
Insert the earphones into the charging case. Check that charging has started, and then remove from the charging case.
Select the state after checking
Thank you for using Troubleshooting Guide.
Communication with the device may sometimes be unstable.
Changing the position or orientation of the device
If there is an obstructing object (our body, metal, wall, etc.) between the device and the earphones, use the device upon moving it to a position that allows for most stable communication, such as by inserting it into the rear pocket instead of the front pocket.
Also, orientation of the device may have a significant impact on communication.
Use the connected device in a position or orientation that allows for the most stable communication.
Select the state after checking
Thank you for using Troubleshooting Guide.
The audio may be interrupted when the low latency mode is on.
Turning off the low latency mode
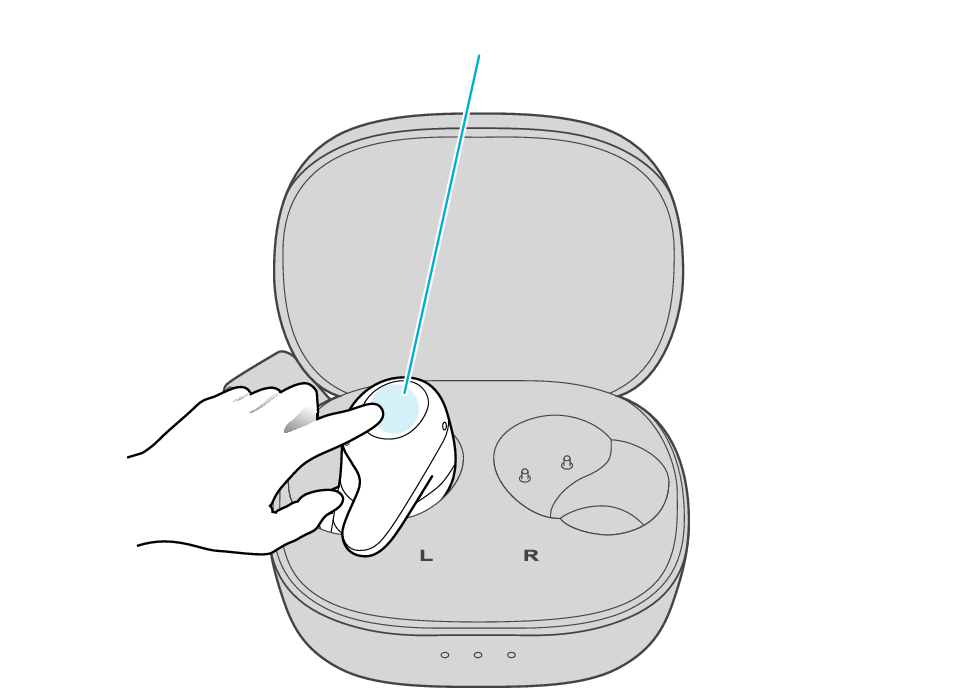
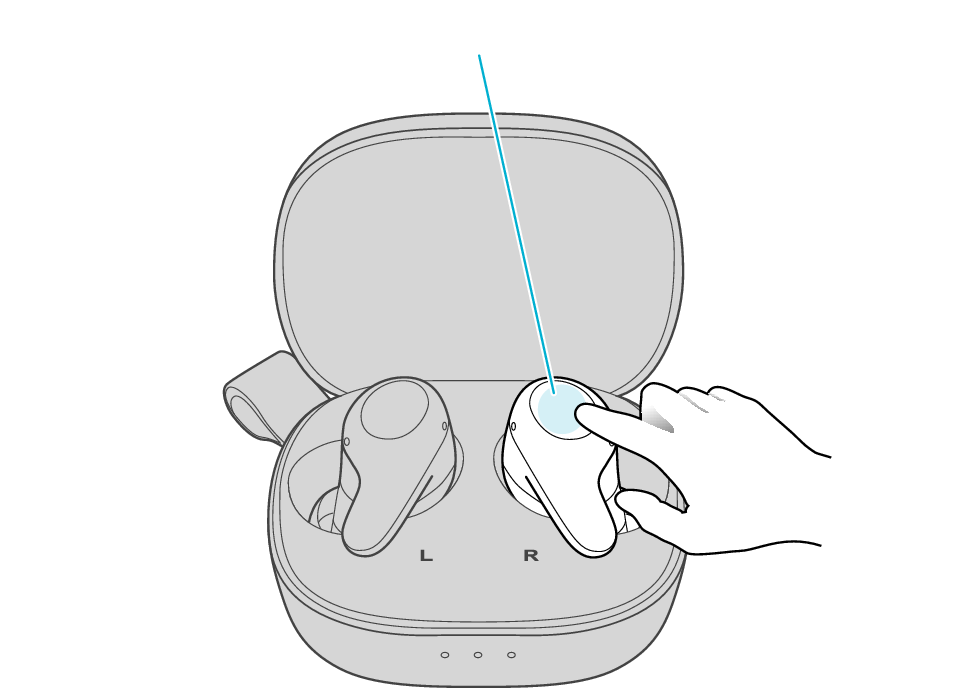
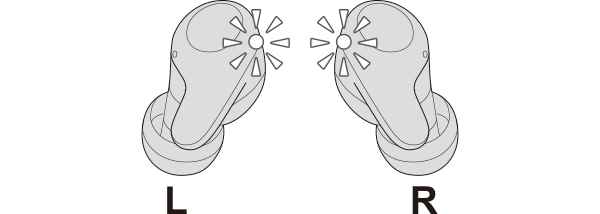
Tap the touch sensor area on the R side of the earphones quickly for 4 times
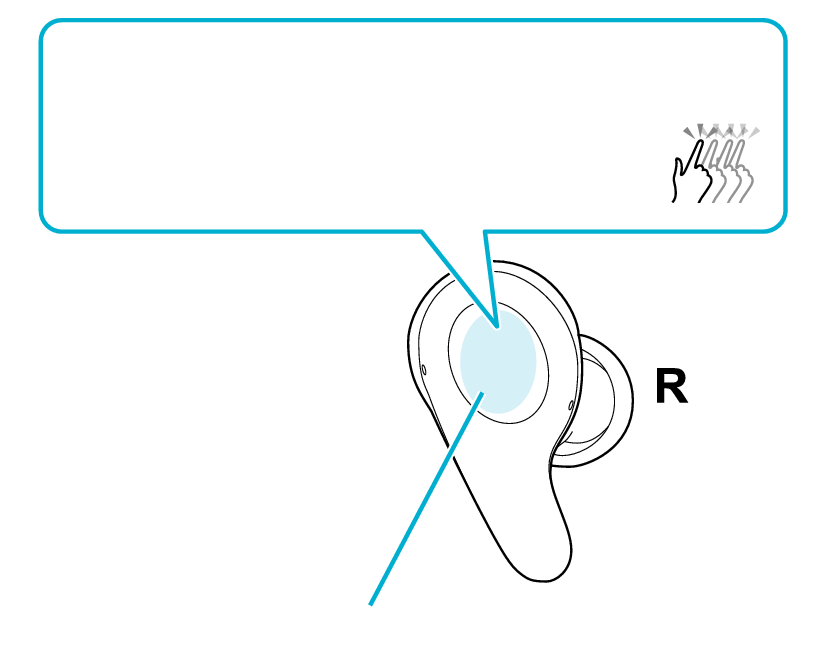
Toggling on/off the low latency mode
4x
Touch sensor area
The function toggles on/off.
The audio guidance can be heard when the function is toggled on/off.
Select the state after checking
Thank you for using Troubleshooting Guide.
Operation of the device may sometimes be unstable.
Reducing the number of apps running on the device
Multiple apps that are running concurrently on devices such as a smartphone might slow down the apps and cause sound interruptions.
Select the state after checking
Thank you for using Troubleshooting Guide.
The battery level of the earphones might be running low.
Sound tends to be interrupted when the remaining battery level is low.
If there are frequent sound interruptions, charge the earphones.
Charging the earphones
-
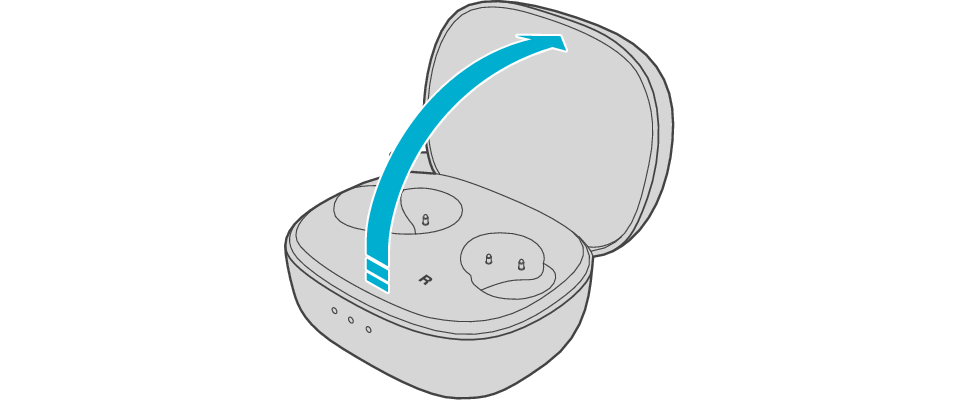
Open the charging case
-
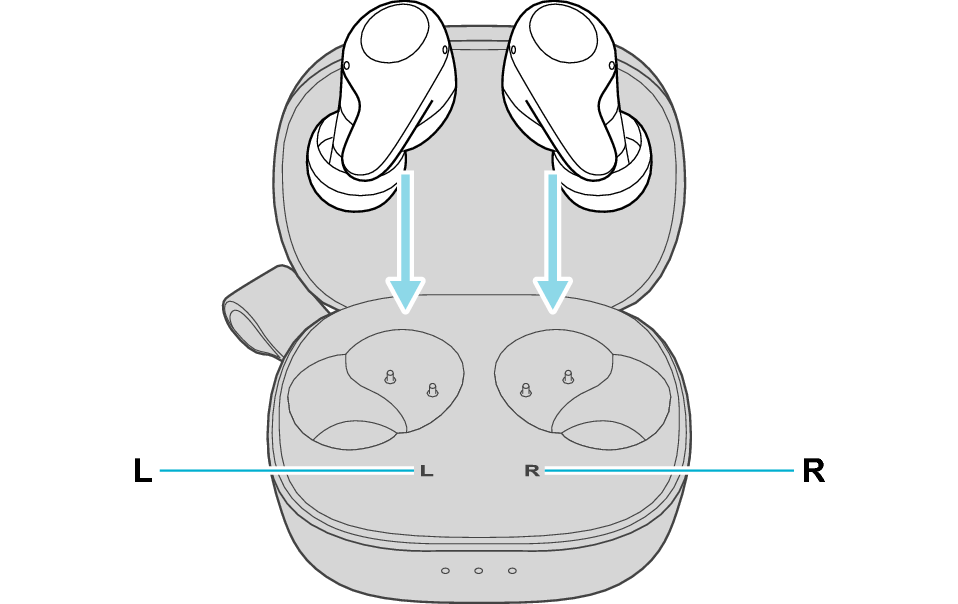
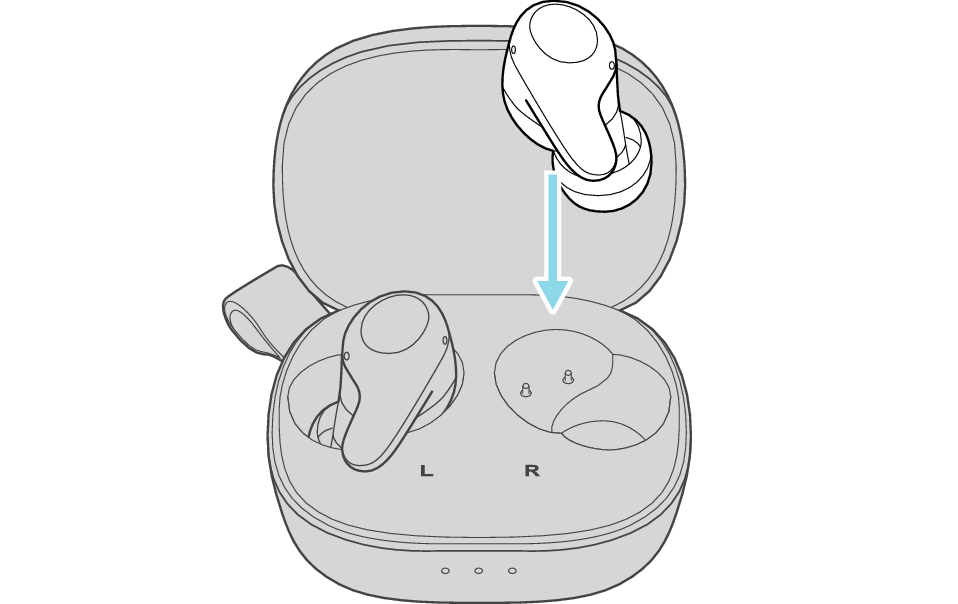
Insert the earphones into the charging case
-
Charge the charging case and earphones
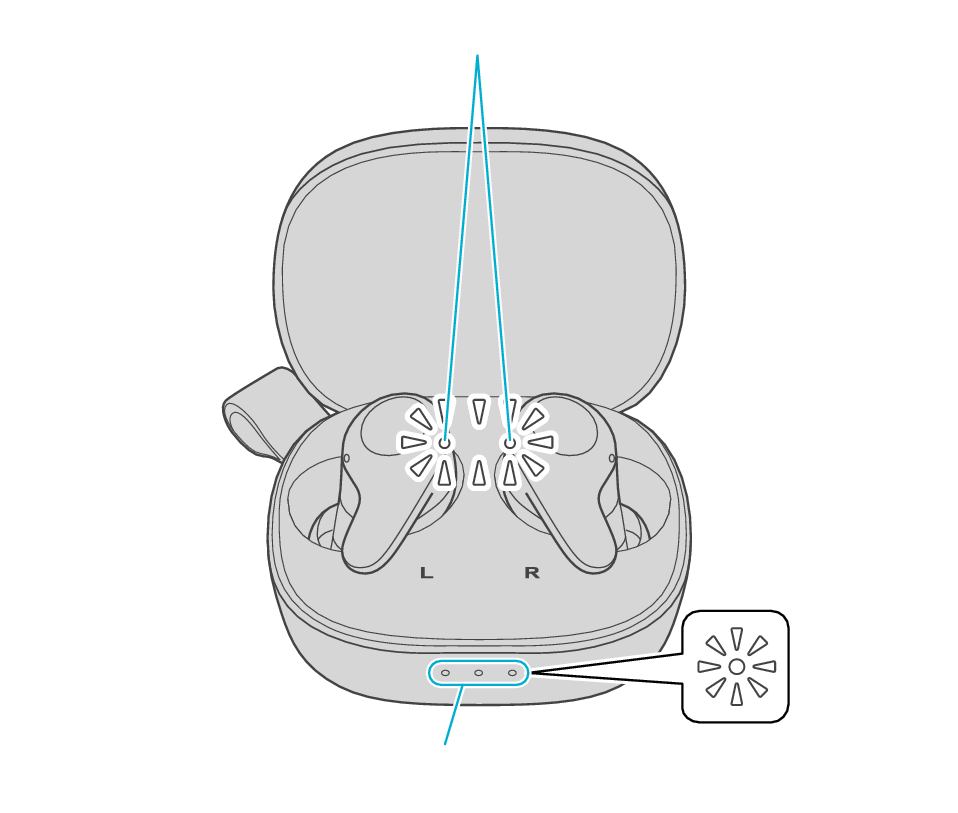
Indicator
Indicators
After the earphones are inserted into the charging case, the power of the earphones will automatically turn off.
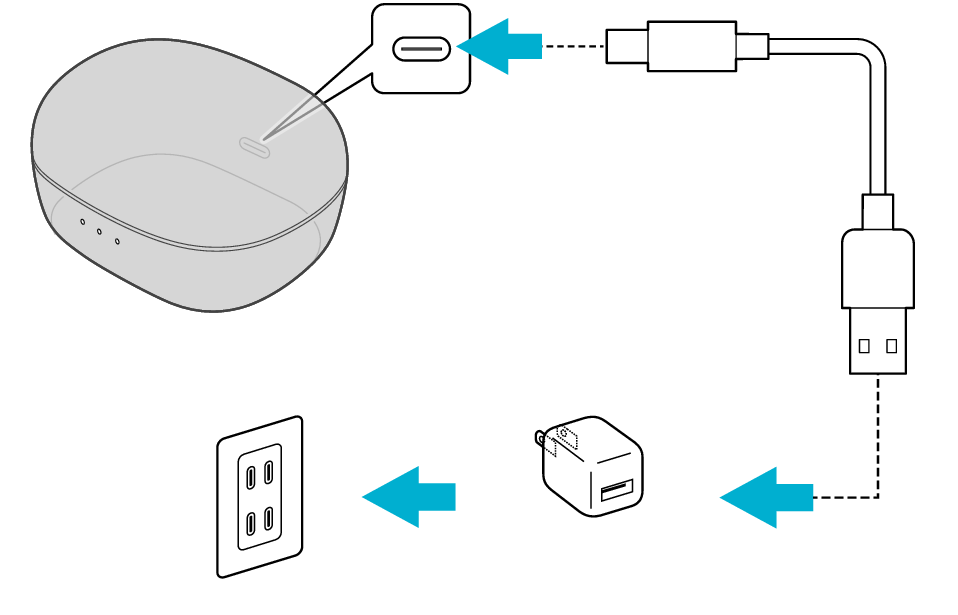
5V TYPE
The indicator on the charging case starts flashing, indicating that charging has started.
During charging of the charging case, the indicator on the case will continue to light up or flash. When charging is complete, the indicator goes out.
The indicators on the earphones light up while charging the earphones. When charging is complete, the indicators go out.
When charging the earphones or charging case that have not been used for a long period of time, it might take some time for the indicators to light up. Wait for the indicators to light up.
Click here if the indicators do not light up or start flashing >>
Select the state after checking
Thank you for using Troubleshooting Guide.
Communication of the device may sometimes be unstable depending on the environment.
Using the earphones at a different location
Sound may be interrupted if the earphones are subject to radio interference at crowded areas or beside microwave ovens and other electronic equipment that emits radio waves.
Also, radio waves are transmitted and received both directly and via reflections from walls and other objects during Bluetooth® communication, so sound may also be interrupted even at places with good visibility and no obstructing objects.
This is a characteristic of Bluetooth® communication and is not a malfunction.
If there are frequent sound interruptions, use the earphones at a different location.
Select the state after checking
Thank you for using Troubleshooting Guide.
Initializing the earphones and re-establishing the connection may help to solve the problem.
Follow the steps below to check whether there is any abnormality with the sound output.
Initializing
First of all, go to the Bluetooth settings of the device to be connected and delete the information of this unit that is registered on it.
Charge the charging case beforehand.
Remove the earphones once if they are inserted into the charging case.
Follow the steps below to initialize the settings of both L and R earphones.
Initialize the L earphone.
-
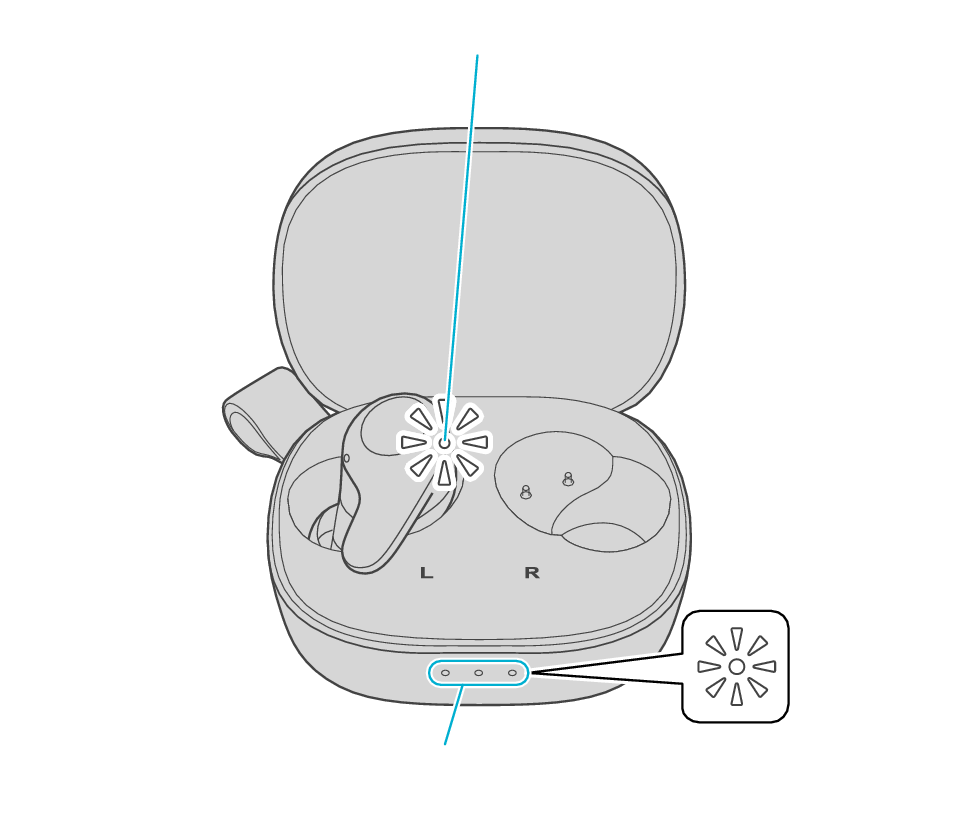
Insert the L earphone into the charging case
-
When the indicator on the L earphone is lighting up, touch and hold the touch sensor area on the L earphone for about 10 seconds
-
While flashing, tap the touch sensor area twice quickly to initialize
After a few seconds, the indicator on the L earphone and charging case will light up.
Indicator
Indicators
Click here if the indicators do not light up or start flashing >>
Touch sensor area
Release your finger after the L indicator flashes quickly.
If the indicator does not flash, start over from step 1.
Touch sensor area
The indicator will stop flashing after 5 seconds. Tap it twice quickly while it is still flashing.
After initialization is complete, the L indicator will flash twice slowly.
If initialization is not successful, start over from step 1.
Initialize the R earphone.
-
Insert the R earphone into the charging case
-
When the indicator on the R earphone is lighting up, touch and hold the touch sensor area on the R earphone for about 10 seconds
-
While flashing, tap the touch sensor area twice quickly to initialize
After few seconds, the indicator on the charging case lights up.
Indicator
Indicators
Touch sensor area
Release your finger after the R indicator flashes quickly.
If the indicator does not flash, start over from step 4.
Touch sensor area
The indicator will stop flashing after 5 seconds. Tap it twice quickly while it is still flashing.
After initialization is complete, the R indicator will flash twice slowly.
If initialization is not successful, start over from step 4.
Connect the L earphone with the R earphone.
-
Remove the earphones from the charging case and place them so that the L and R earphones are placed next to each other
Be careful not to touch the touch sensor area when taking them out.
The L and R indicators light up and the power turns on.
Wait for a short while for the indicator on one earphone to flash quickly and the indicator on the other earphone to flash twice in every 5 seconds. The earphones are now ready for device pairing.

After taking out the earphones, move the L and R earphones close to the device to pair with.
Connecting to a Device
Turn on the BLUETOOTH connection setting of the device and select “JVC HA-A23T”

JVC HA-A23T
The earphones are connected to the device if the indicators on both sides of the earphones are flashing every 5 seconds.
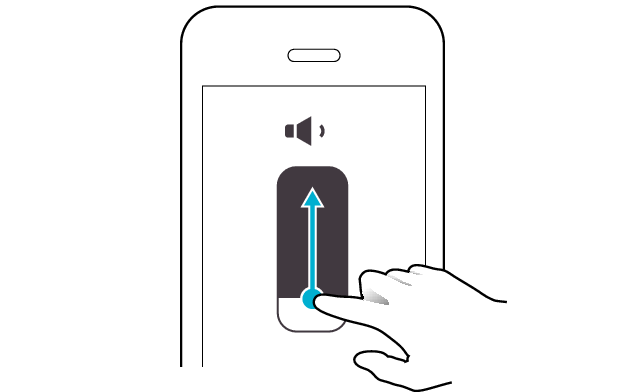
Apps and Volume Control on the Connected Device
-
Open an app and play
-
Adjust the volume