No sound from one side of the earphones

If no sound is heard from one side of the earphones, initializing the earphones may solve the problem.
Follow the steps below to check whether there is any abnormality with the sound output.
Initializing
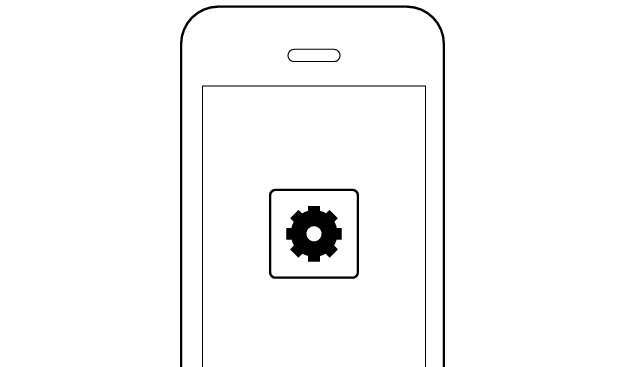
First of all, go to the Bluetooth settings of the device to be connected and delete the information of this unit that is registered on it.
Charge the charging case beforehand.
Follow the steps below to initialize the settings of both L and R earphones.
-
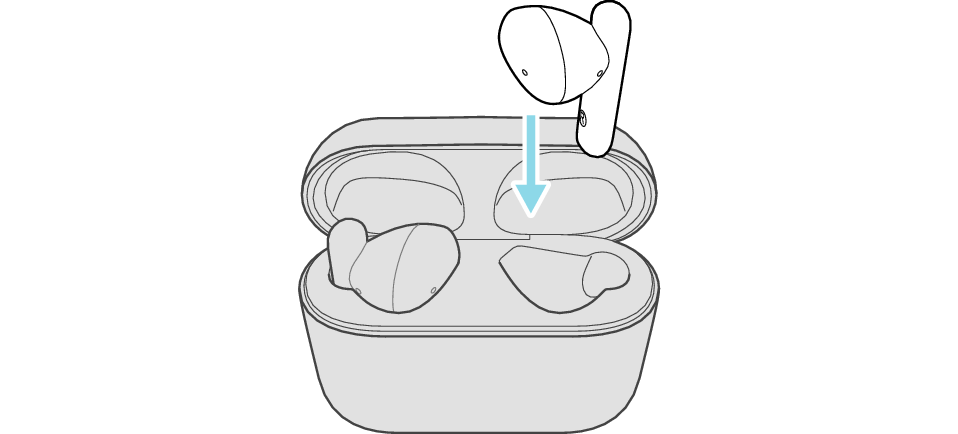
Remove the L earphone from the charging case
-
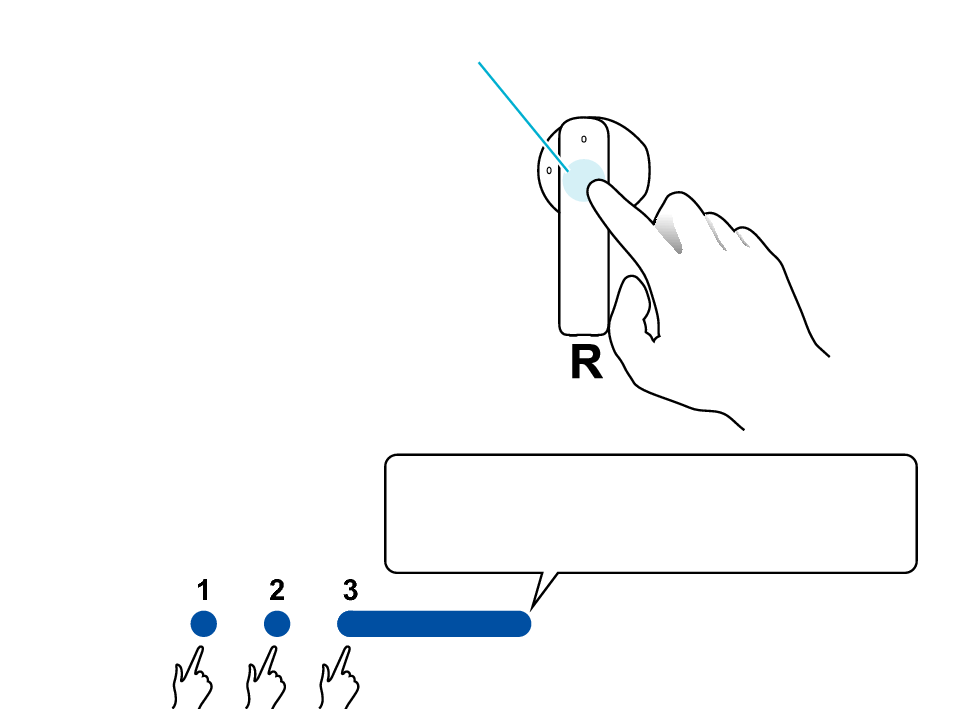
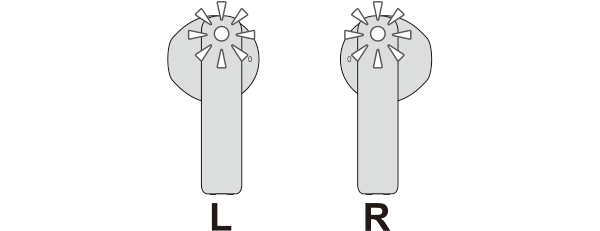
Tap the touch sensor area 3 times (for the third time, keep touching until the indicator lights up)
-
Tap the touch sensor area twice while the indicator is lighting up
-
Insert the L earphone into the charging case
-
Remove the R earphone from the charging case
-
Tap the touch sensor area 3 times (for the third time, keep touching until the indicator lights up)
-
Tap the touch sensor area twice while the indicator is lighting up
-
Insert the R earphone into the charging case
-
Remove the earphones from the charging case and place them so that the L and R earphones are placed next to each other

Make sure that the Bluetooth device is not connected (the indicator flashes twice every 5 seconds, or flashes quickly repeatedly).
Release your finger after the indicator lights up.

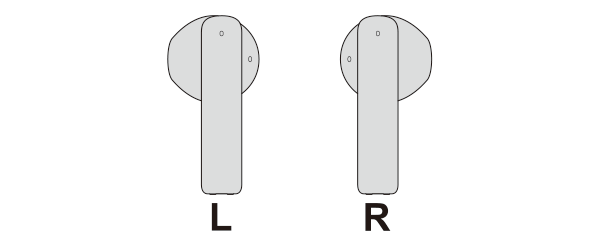
Touch sensor area
Release your finger after the indicator lights up.
Touch and hold
The indicator lights up for 5 seconds.
The indicator will flash and then go out, and the power will be turned off.
If you do not tap the touch sensor twice while the indicator is lit, start again from step 2.


Make sure that the Bluetooth device is not connected (the indicator flashes twice every 5 seconds, or flashes quickly repeatedly).
Release your finger after the indicator lights up.
Touch sensor area
Release your finger after the indicator lights up.
Touch and hold
The indicator lights up for 5 seconds.
The indicator will flash and then go out, and the power will be turned off.
If you do not tap the touch sensor twice while the indicator is lit, start again from step 2.
The L and R indicators light up and the power turns on.
After a short while, the L indicator starts to flash quickly and repeatedly. The R indicator flashes twice every 5 seconds repeatedly.
Connecting to a Device
Turn on the BLUETOOTH connection setting of the device and select “JVC HA-A4T”
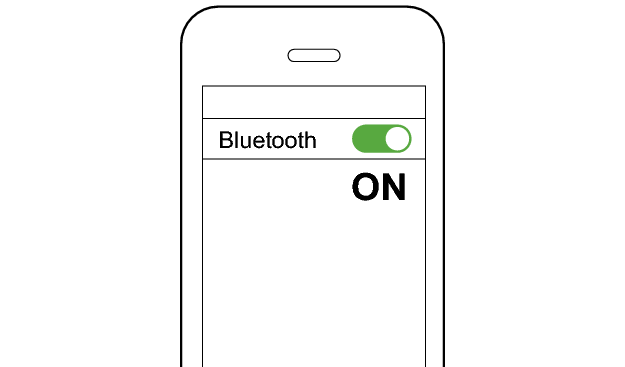
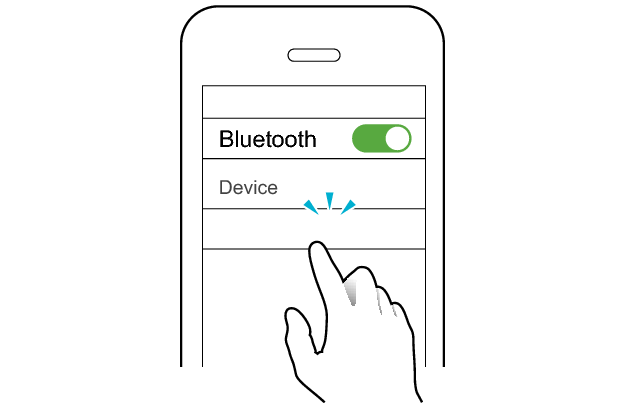
JVC HA-A4T

The earphones are connected to the device if the indicators on both sides of the earphones are flashing every 5 seconds.
Apps and Volume Control on the Connected Device
-
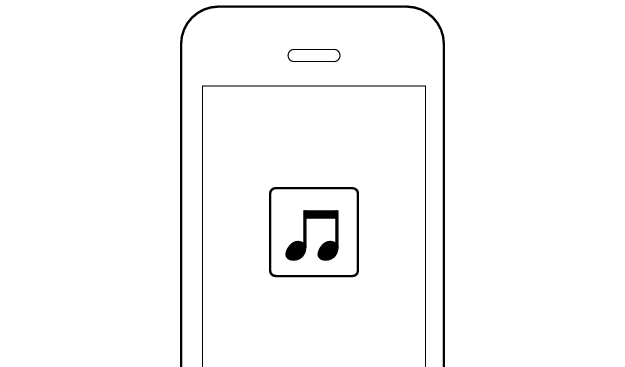
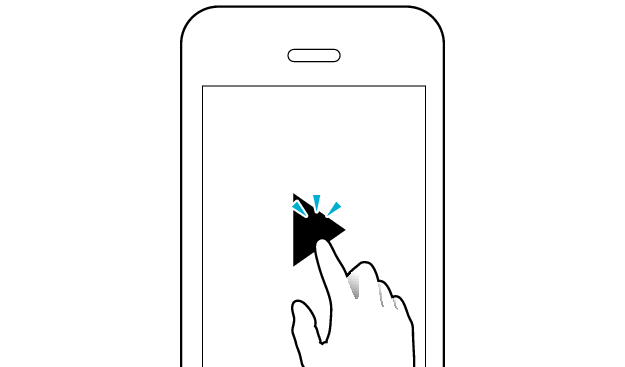
Open an app and play
-
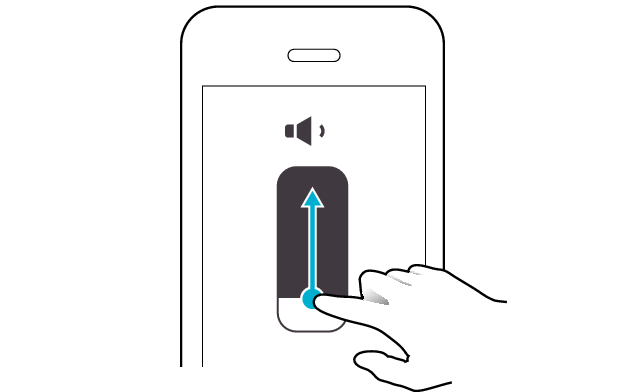
Adjust the volume