Importing and Configuring Settings for SDP Files for Broadcast
 [Overlay Settings] [Import User Layout] to import the SDP file.
To use an overlay other than the SDP file at factory default, import the SDP file for broadcast to the camera.
[Overlay Settings] [Layout]. [Overlay Settings] [Type].When the SDP file selected in [Layout] is created in a type other than “Broadcast”, or when the recording resolution of the “Broadcast” type of the SDP file is different from the recording resolution of the current camera, “Broadcast” is not displayed in [Type].
Broadcast:
None: No display
Memo:
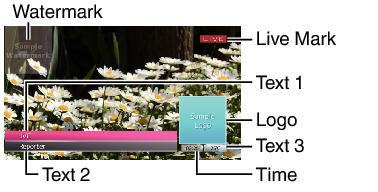
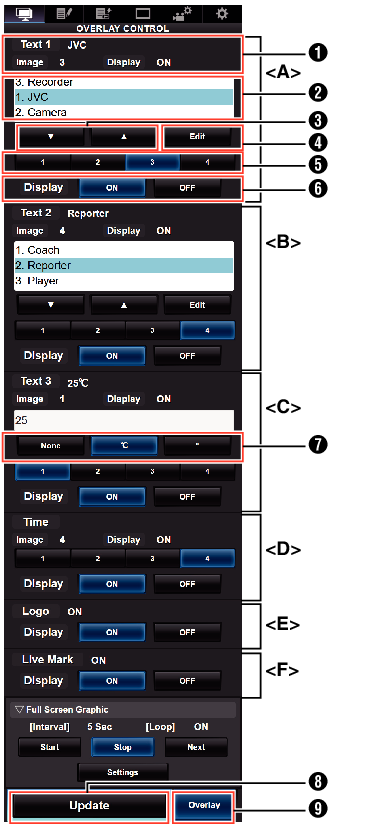
Range <A> Text 1
Range <B> Text 2
Range <C> Text 3
Range <D> Time
Range <E> Logo
Range <F> Live mark
Shows the current overlay status.
Text selection area
The highlighted text is overlaid and displayed.
[  ] [
] [  ] Button
Selects the text.
[Edit] Button
Switches to the text entry mode.
[1][2][3][4] Button
Selects the image.
[Display] Button
Displays or hides specific areas.
Unit Button
Selects the unit to add after Text 3.
[Update] Button
Reflects the changed content in the overlay display.
[Overlay] Button
Turns ON/OFF the overlay display.
Text that can be entered in [Text 1], [Text 2], and [Text 3] are as follows:
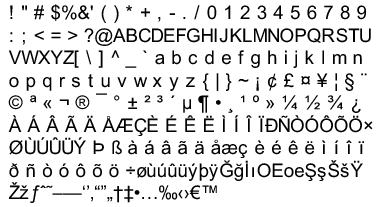
Not more than 5 lines can be entered for Text 1 and Text 2 each. Up to 63 bytes can be entered for each line.
Up to 5 bytes can be entered for Text 3.
The maximum number of text that can be entered depends on the type of text.
![]()