
Main Page >
Using Wi-Fi > Using the Wi-Fi Function from a Web Browser > Making Camera Settings from a Web Browser > Adding/Changing/Deleting an Access Point
Using Wi-Fi |
Adding/Changing/Deleting an Access Point |
To search and add “ACCESS POINTS”
- 1
- 2
- 3
- 4
- 5

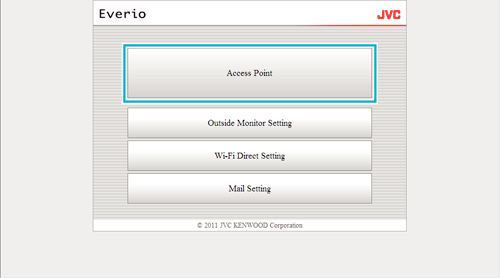
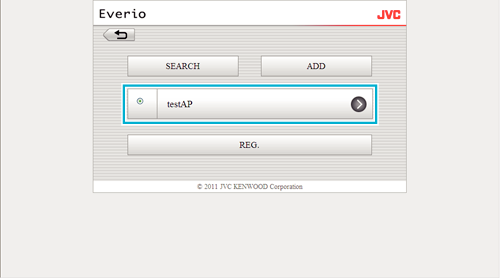
Click “Access Point”.

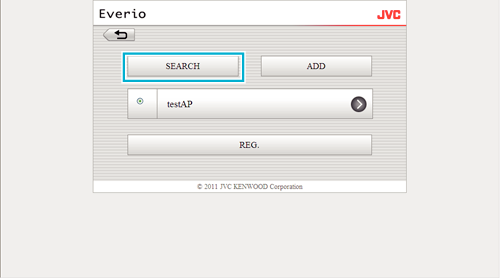
Click “SEARCH”.

Click on the access point you want to add.
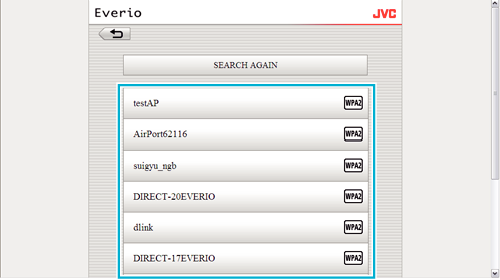
Click “SEARCH AGAIN” to perform search for an access point again.

Enter the password, and click “REG.”.
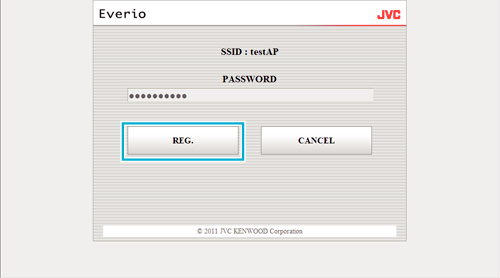
Password entry is not required if the access point is security protected.

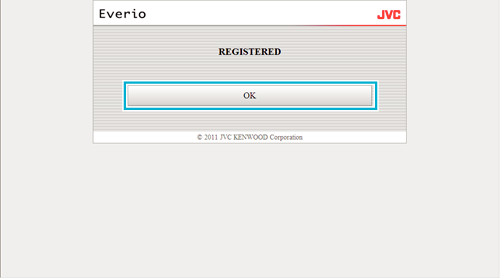
Click “OK”.
To add “ACCESS POINTS” manually
- 1
- 2
- 3
- 4
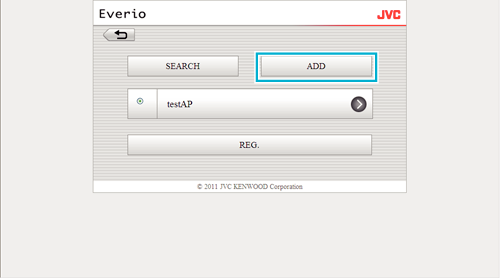
Click “Access Point”.
Click “ADD”.
Enter “SSID”, “TYPE OF SECURITY”, and “PASSWORD”, and click “REG.”.
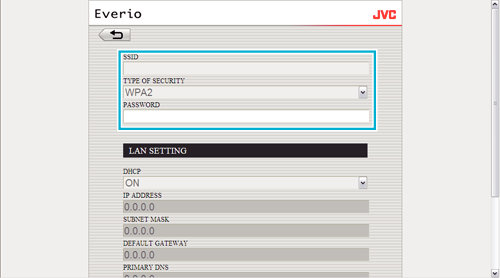
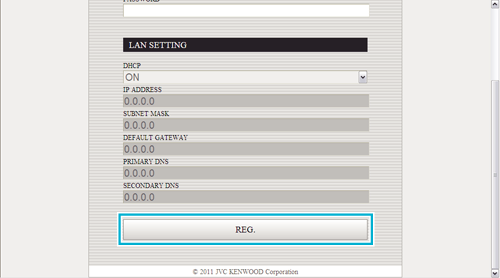
To configure the LAN settings manually, set “DHCP” to OFF, and enter the necessary information manually.
Click “OK”.
To change (or delete) an “ACCESS POINTS” registration
- 1
- 2
- 3
- 4
Click “Access Point”.
Click on a registered access point.
After changes are made, click “REG.”.
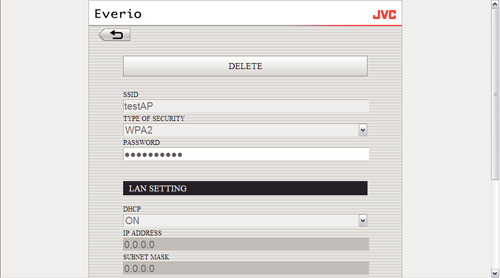

Click “DELETE” on this screen to delete the registered access point.
Click “OK”.