
Recording |
Taking Close-up Shots |
You can take close-up shots of an object using the tele macro function.

*The image is only an impression.
Memo
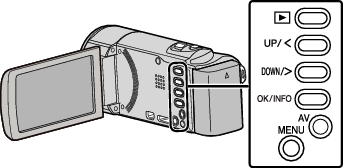
To select/move cursor towards up/left or down/right, press the button UP/< or DOWN/>.
- 1
- 2
- 3
- 4
- 5

Select the Manual recording mode.
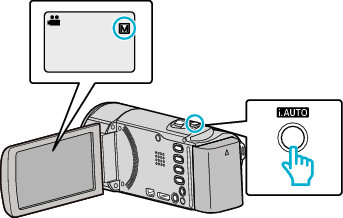
If the mode is ![]() Intelligent Auto, press the i.AUTO button to switch to
Intelligent Auto, press the i.AUTO button to switch to ![]() Manual.
Manual.
The mode changes between Intelligent Auto and Manual with every press.

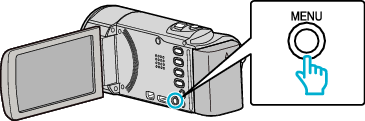
Press MENU.

Select “MANUAL SETTING” and press OK.


Select “TELE MACRO” and press OK.


Select “ON” and press OK.

After setting, the tele macro icon ![]() appears.
appears.
| Setting | Details |
|---|---|
|
OFF |
Enables close-up shots up to 1 m at the telephoto (T) end. |
|
ON |
Enables close-up shots up to 50 cm at the telephoto (T) end. |
Caution
- When you are not taking close-up shots, set “TELE MACRO” to “OFF”.
Otherwise, the image may be blur.