
复制 |
准备DVD刻录机(CU-VD50) |

从本机上取下交流电适配器和电池。

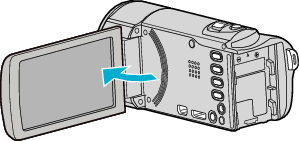
打开液晶监视器。

连接USB电缆和交流电适配器。
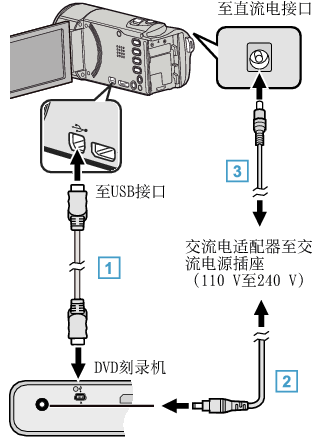

连接DVD刻录机随带的USB电缆。

连接DVD刻录机的交流电适配器。
打开DVD刻录机。

把交流电适配器与本机连接。
连接交流电适配器时,本机自动接通电源。
本机打开, “备份”菜单出现。
连接USB电缆期间,显示 “备份”菜单。
另请参阅DVD刻录机的使用说明书。

插入一张新光盘。
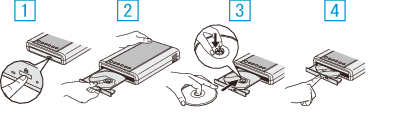
按弹出按钮。
拉开光盘托架。
拉出托架,正确装入新光盘。

推入光盘托架,直至咔哒一声卡进。
小心
- 连接设备时务必切断电源。
否则可能会发生电击或故障。
注
- 连接本机时,除电源按钮和弹出按钮外,DVD刻录机CU-VD50上的所有按钮都不起作用。