-

- Copying
- Copying to Windows PC
-
Installing the Provided Software (Built-in)
Installing the Provided Software (Built-in)
You can display the recorded images in calendar format and perform editing using the provided software.
This operation cannot be completed if the remaining battery power is not enough. Charge the battery fully first.
Preparations
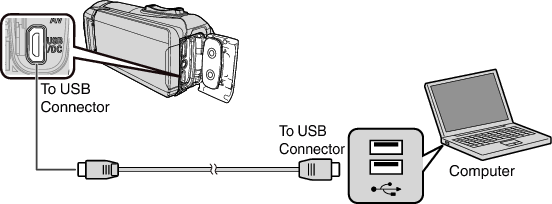
Connect this unit to a computer with a USB cable.
Windows 8/Windows 8.1
Open the terminal cover.
Connect to your PC using the provided USB cable.
Before connecting the cable, close the LCD monitor to turn off this unit.
Open the LCD monitor.
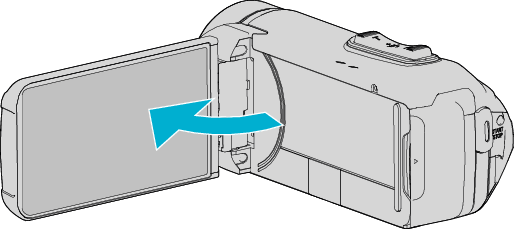
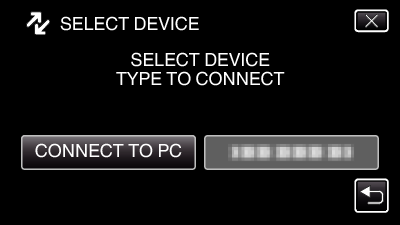
This unit turns on and the “SELECT DEVICE” menu appears.
Tap “CONNECT TO PC”.
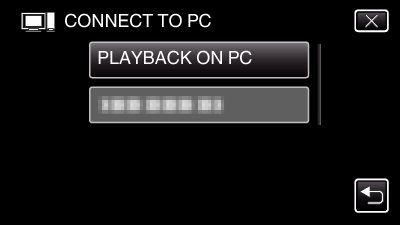
Tap “PLAYBACK ON PC”.
Disconnect the USB cable to return to the recording or playback screen.
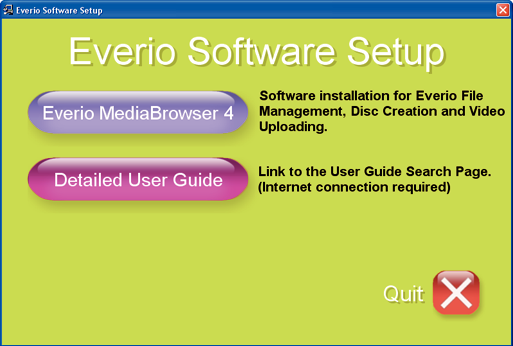
“Everio Software Setup” appears on the computer.
Operations are to be performed on the computer after the screen switches.
Perform the following operations on your computer.
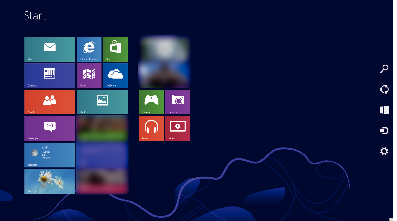
(For Windows 8) Click the “Search” charm.
(For Windows 8.1) Click
 .
.
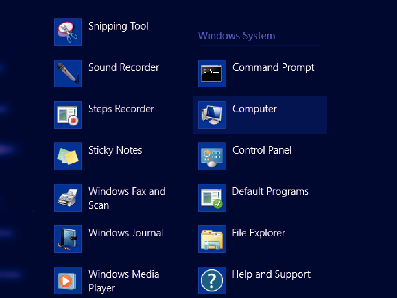
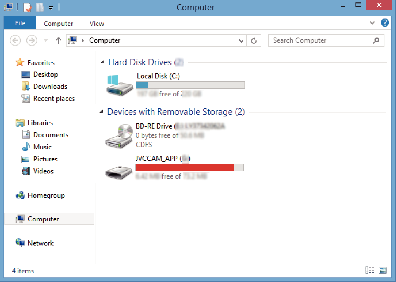
If a “Computer” icon is shown on desktop, double-click the icon to open “Computer”.
“Software Setup” appears after a while.
Click “Everio MediaBrowser 4”.
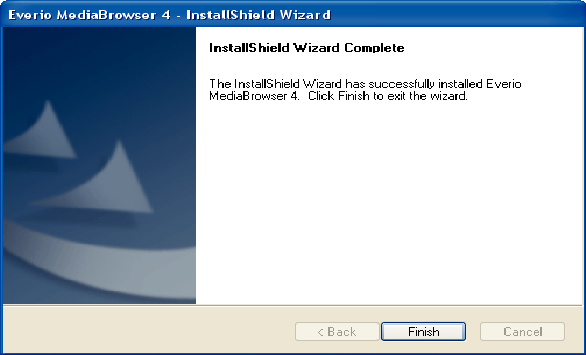
Follow the on-screen instructions to finish the installation.
Click “Finish”.
Click “Quit”.

Installation is complete, and two icons are created on the desktop.
Remove this unit from your PC.
Memo
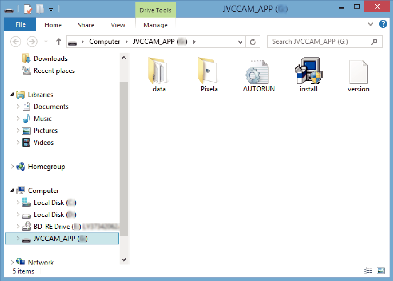
If “Everio Software Setup” doesn’t appear, double-click “JVCCAM_APP” in “My Computer” or “Computer”, then double-click “install (or Install.exe)”.
If the auto play dialog box appears, select “Open folder to view files” and click “OK”. Then, click “install (or Install.exe)” in the folder.
Windows Vista/Windows 7
Open the terminal cover.
Connect to your PC using the provided USB cable.
Before connecting the cable, close the LCD monitor to turn off this unit.
Open the LCD monitor.
This unit turns on and the “SELECT DEVICE” menu appears.
Tap “CONNECT TO PC”.
Tap “PLAYBACK ON PC”.
“Everio Software Setup” appears on the computer.
Operations are to be performed on the computer after the screen switches.
Perform the following operations on your computer.
*Windows 7
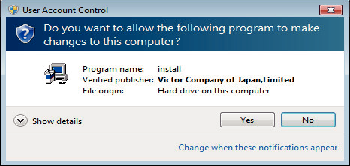
In case of Windows Vista, click “Allow” (continue).
“Software Setup” appears after a while.
If it doesn’t appear, double-click “JVCCAM_APP” in “Computer” or “My Computer”, then double-click “install.exe”.
Click “Everio MediaBrowser 4”.
Follow the on-screen instructions to finish the installation.
Click “Finish”.
Click “Quit”.
Installation is complete, and two icons are created on the desktop.
Remove this unit from your PC.
Memo
If “Everio Software Setup” doesn’t appear, double-click “JVCCAM_APP” in “My Computer” or “Computer”, then double-click “install (or Install.exe)”.
If the auto play dialog box appears, select “Open folder to view files” and click “OK”. Then, click “install (or Install.exe)” in the folder.