-

- Using Wi-Fi
- Changing the Settings
-
Registering Access Point Using WPS PIN
- Wi-Fi Capabilities
- Operating Environment
- Precautions on Using Wi-Fi
- Image Monitoring via Direct Connection (DIRECT MONITORING)
- Image Monitoring via an Access Point at Home (INDOOR MONITORING)
- Recording the Location Information
- Changing the Settings
- Registering Access Point Using Wi-Fi Protected Setup (WPS)
- Registering Access Point Using WPS PIN
- Checking the MAC Address of this Camera
- Initializing the Wi-Fi Settings
- Using Smartphone Applications
- Troubleshooting
- Wi-Fi Specifications
Registering Access Point Using WPS PIN
Tap “MENU”.
(Operation on this camera)

The top menu appears.
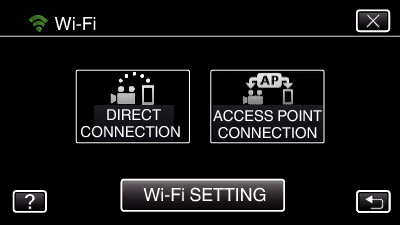
Tap the “Wi-Fi” (  ) icon.
(Operation on this camera)
_UJDCILmpidhcjd.png)
Tap “Wi-Fi SETTING”.
(Operation on this camera)

Tap “ACCESS POINTS”.
(Operation on this camera)

Tap “ADD”.
(Operation on this camera)

Tap “WPS PIN”.
(Operation on this camera)

The PIN code appears.
Enter the PIN code displayed on the camera to the access point (wireless LAN router).
For details on how to enter the PIN code, refer to the instruction manual of the device in use.
Tap “START”.
(Operation on this camera)

Tap “START” after entering PIN code to the access point (wireless LAN router).
(Connection cannot be established if “START” is tapped before entering the code.)
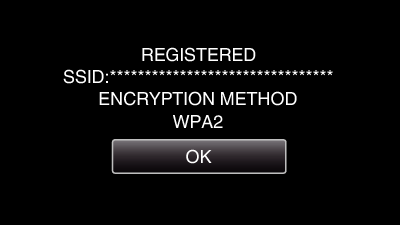
After registration is complete, tap “OK” on the camera’s screen.
(Operation on this camera)

Select the access point, then tap “SET”.

If several access points are registered, tap on the access point to be used, then tap “USE”.
To delete the access point registered, tap on the access point, then tap “DELETE”.
