You can dub videos in standard quality by connecting to a VCR.
-

- Copying
-
Dubbing Files to a VHS Tape by Connecting to a VCR
Dubbing Files to a VHS Tape by Connecting to a VCR
Refer also to the instruction manuals of the TV and VCR.
Open the terminal cover.
Connect to a VCR/DVD recorder.
Before making any connection, close the LCD monitor to turn off this unit.
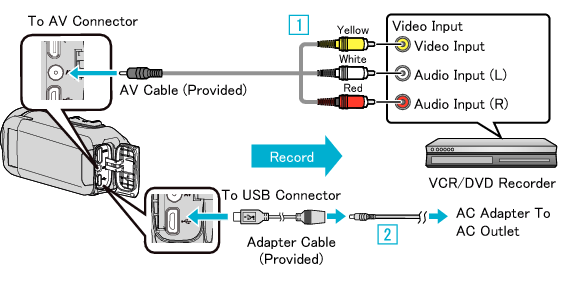
Connect using the provided AV cable.
Connect the adapter cable and AC adapter to this unit.
Be sure to use the supplied AC adapter.
Open the LCD monitor.
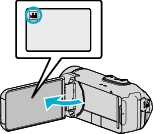
Check if the recording mode is ![]() .
.
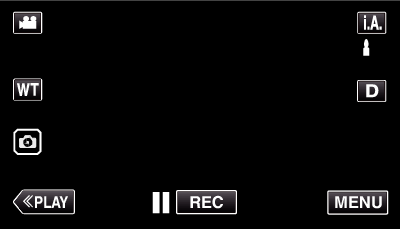
If the mode is ![]() still image, tap
still image, tap ![]() on the recording screen to display the mode switching screen.
on the recording screen to display the mode switching screen.
Tap ![]() to switch the mode to video.
to switch the mode to video.
Tap  to select the playback mode.
Prepare the TV/VCR for recording.
Switch to a compatible external input.
Insert a video tape.
Prepare this unit for playback.
Set “VIDEO OUTPUT” in the “CONNECTION SETTINGS” menu to the aspect ratio (“4:3” or “16:9”) of the connecting TV.
Start recording.
Start playback on this unit and press the record button on the recorder.
After playback is complete, stop the recording.
Memo
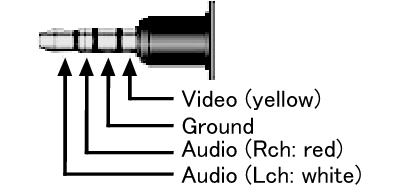
AV cable (P/N: QAM1322-001)
Before using the cable, attach the core filter provided with this unit.
Wiring specifications (for video/audio) of the 4-pole mini plug are described in the following.
To purchase, consult your nearest JVC service center.
Memo
To include the recording date and time during dubbing, set “DISPLAY DATE/TIME” in the “PLAYBACK SETTING” menu to “ON”. Or, set “DISPLAY ON TV” in the “CONNECTION SETTINGS” menu to “ON”.