
Main Page>
Getting Started
> Clock Setting
Getting Started |
Clock Setting |
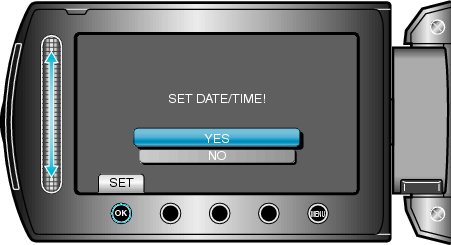
The “SET DATE/TIME!” screen appears when you turn on this unit for the first time after purchase, when it has not been used for a long time, or when the clock is not set yet.
Set the clock before recording.
- 1
- 2
- 3
- 4

Open the LCD monitor.
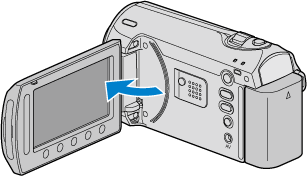
This unit turns on.
When the LCD monitor is closed, this unit turns off.

Select “YES” and touch  .
.

Set the date and time.
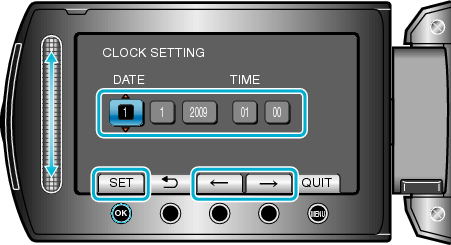
Use the slider to adjust the year, month, day, hour, and minute in order.
Touch the operation buttons " ![]() " / "
" / " ![]() " to move the cursor.
" to move the cursor.
After setting the date and time, touch ![]() .
.

Select the region where you live and touch .
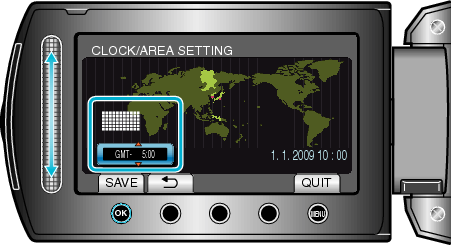
The city name and time difference are displayed.
Touch ![]() after the color of the selected region changes.
after the color of the selected region changes.
Memo
- The clock can be reset again later.
- When using this unit overseas, you can set it to the local time for recording.
- You can turn on or off the clock display during playback mode.
- Touch the slider and buttons around the screen with your fingers.
- The slider and buttons do not function if you touch them with your fingernails or with gloves on.
- The displays on the screen do not work even if you touch them.