You can record the location information of the venue where recording is taking place via direct connection (Wi-Fi Direct) with a smartphone.
-

- Using Wi-Fi (GZ-EX355/GZ-EX310)
-
Recording the Location Information
Recording the Location Information

Memo
To obtain the location information, it is necessary to connect the smartphone to the camera and start the smartphone application.
Also, setting the “LOC INFO TRANS INT” for the smartphone application is necessary.
Activate the GPS function of the smartphone in advance.
The recorded location information can be used on the software provided with this unit.
What You Need
Smartphone
Settings Required in Advance
Set up your camera and smartphone by performing the following operations.
For a smartphone with WPS support, refer to the “Wi-Fi Protected Setup (WPS)”.
*WPS is a method to connect the camera and the smartphone wirelessly by easy button operations.
Connection by entering the Wi-Fi password
Tap “MENU”.
(Operation on this camera)
Set the camera to the recording mode.
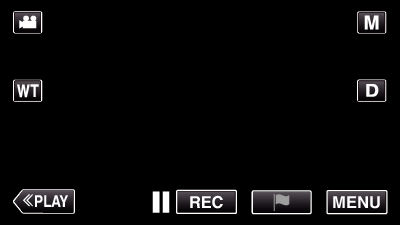
The top menu appears.
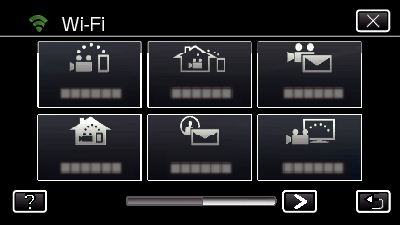
Tap the “Wi-Fi” (  ) icon.
(Operation on this camera)
_UJDCILaupoooxz.png)
Tap the “DIRECT MONITORING” (  ) icon in the “Wi-Fi” menu.
(Operation on this camera)
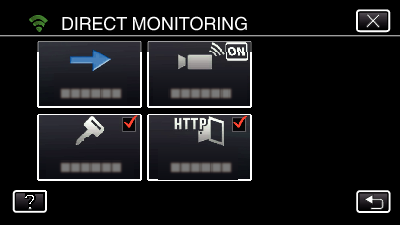
Tap “START” (  ).
).
(Operation on this camera)
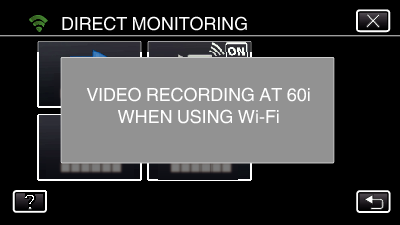
When iFrame is selected for “VIDEO REC FORMAT”, the following display appears and recording mode is switched to the 60i mode in AVCHD.
Check the SSID and the PASS being displayed on the screen of the camera.
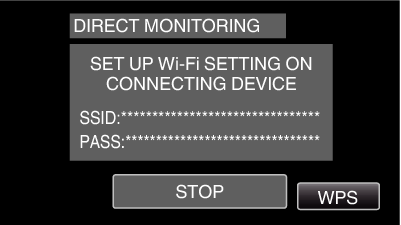
Select the SSID in step 5 from the Wi-Fi network selection screen of your smartphone, and enter the PASS on the password screen.
(Operation on the smartphone (or computer))

For details on connecting your smartphone (or computer) to a Wi-Fi network, please refer to the instruction manual of the phone terminal in use.
A connection is established and appears on the camera’s screen.
Connection by Wi-Fi Protected Setup (WPS)
Tap “MENU”.
(Operation on this camera)
Set the camera to the recording mode.
The top menu appears.
Tap the “Wi-Fi” ( ) icon.
(Operation on this camera)
Tap the “DIRECT MONITORING” ( ) icon in the “Wi-Fi” menu.
(Operation on this camera)
Tap “START” ( ).
(Operation on this camera)
When iFrame is selected for “VIDEO REC FORMAT”, the following display appears and recording mode is switched to the 60i mode in AVCHD.
Tap “WPS”.
(Operation on this camera)
Activate WPS on the smartphone (or computer) within 2 minutes.
(Operation on the smartphone (or computer))
To activate WPS, refer to the instruction manual of the device in use.
A connection is established and appears on the camera’s screen.
Operation Method
Activate the GPS function of the smartphone.
(Operation on the smartphone)
For details on using the smartphone, refer to the instruction manual of the device in use.
Start “Everio sync. 2” on a smartphone.

Tap “DIRECT MONITORING”.
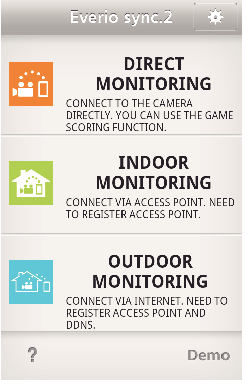
Monitor screen is displayed.
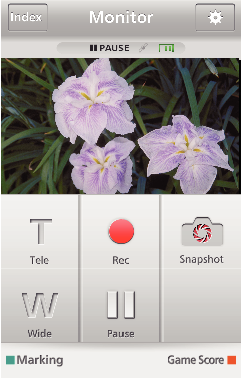
To change the time interval for obtaining the GPS location information (OFF-15 sec.), tap ![]() .
.
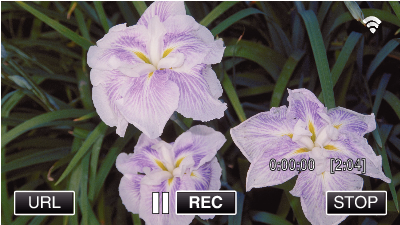
Receiving the location information
(Display on this camera)
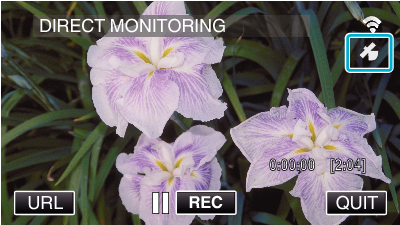
When the GPS location information is received from the smartphone, an icon ( ![]() ) is displayed on the camera screen.
) is displayed on the camera screen.
Start recording.
(Operation on this camera)
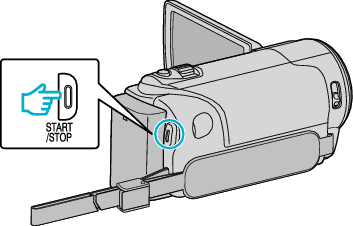
Press the “START/STOP” button to start a normal recording.
Memo
Manual recording cannot be performed.
It is not possible to switch to the playback mode.