Set the clock with “CLOCK ADJUST” from the menu.
-

- Getting Started
- Clock Setting
-
Resetting the Clock
Resetting the Clock
Tap “MENU”.
_IZYUILvdsdgwox.png)
Tap “SETUP”.
_UJDCILkrscevgk.png)
Tap “CLOCK ADJUST”.
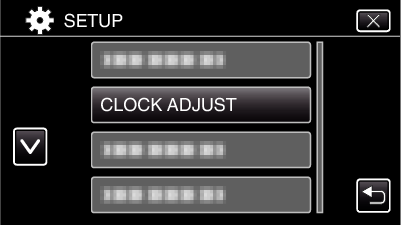
Tap  or
or  to scroll the screen.
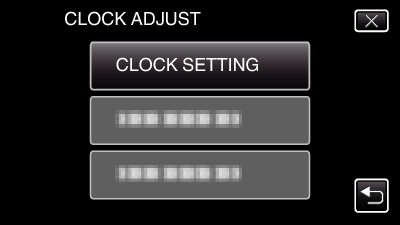
Tap “CLOCK SETTING”.
Set the date and time.
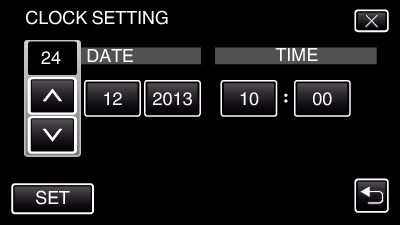
“ ” and “ ” are displayed when items in “DATE” and “TIME” are tapped.
Set “DATE” and “TIME” by tapping or .
Repeat this step to enter “DATE” and “TIME”.
After setting the date and time, tap “SET”.
Select the region where you live and tap “SAVE”.

Time difference between the selected city and the GMT (Greenwich Mean Time) is displayed.
Tap  or
or  to select the city name.