Copying |
Backing Up Files Without Using Provided Software |
Copy the files to a computer using the following method.
- 1
- 2
- 3
- 4
- 5
- 6

Open the LCD monitor.


Connect the USB cable and the AC adapter.
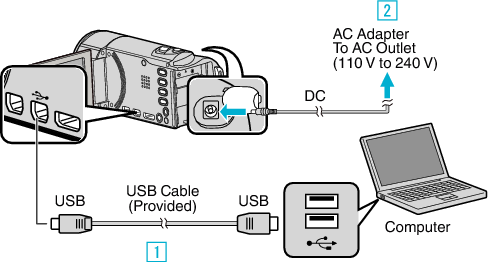

Connect using the provided USB cable.

Connect the AC adapter to this unit.
This unit powers on automatically when the AC adapter is connected.
Be sure to use the supplied JVC AC adapter.

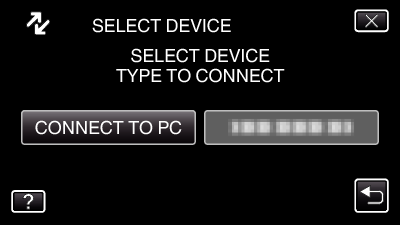
The “SELECT DEVICE” menu appears.

Tap “CONNECT TO PC”.

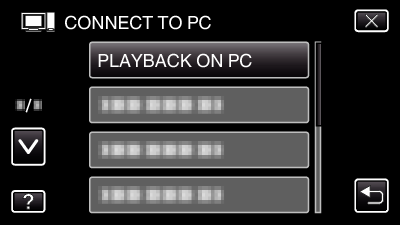
Tap “PLAYBACK ON PC”.
Tap ![]() to exit the menu.
to exit the menu.
Tap ![]() to return to the previous screen.
to return to the previous screen.
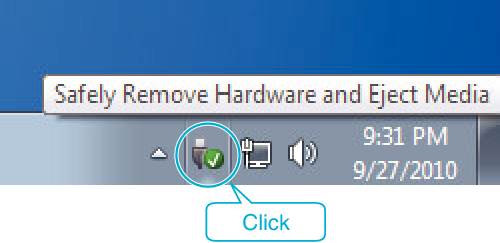
Close the Everio MediaBrowser 3 program, if it starts.
The subsequent operations are to be performed on the computer.

Select “Computer” (Windows Vista) / “My Computer” (Windows XP) / “Computer” (Windows 7) from the “Start” menu, then click on the “JVCCAM_MEM” or “JVCCAM_SD” icon.
Open the folder with the desired files.
“JVCCAM_MEM” is applicable to GZ-HM690/GZ-HM670/GZ-HM650/GZ-HM450 only.

Copy the files to any folder in the computer (desktop, etc).
Caution
- When the folders or files are deleted/moved/renamed in the computer, they cannot be played back on this unit anymore.
Memo
- To edit/view the files, use a software that supports AVCHD (video)/JPEG (still image) files.
- The above operations on computer may vary with the system used.