
Recording |
Setting White Balance |
You can set the color tone to suit the light source.
Memo
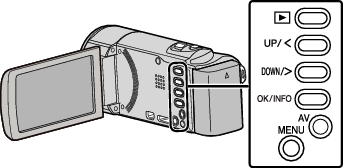
To select/move cursor towards up/left or down/right, press the button UP/< or DOWN/>.
- 1
- 2
- 3
- 4
- 5

Select the Manual recording mode.
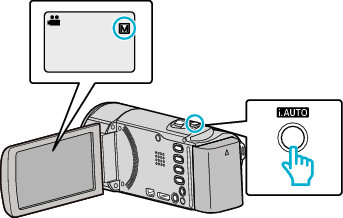
If the mode is ![]() Intelligent Auto, press the i.AUTO button to switch to
Intelligent Auto, press the i.AUTO button to switch to ![]() Manual.
Manual.
The mode changes between Intelligent Auto and Manual with every press.

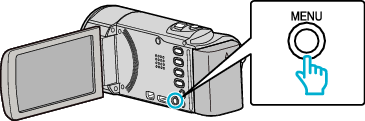
Press MENU.

Select “MANUAL SETTING” and press OK.


Select “WHITE BALANCE” and press OK.


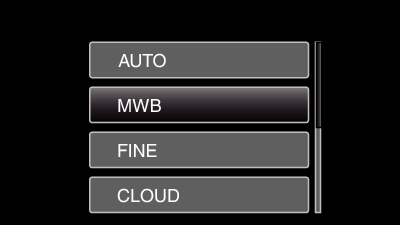
Select the white balance setting and press OK.
| Setting
|
Details
|
|---|---|
|
AUTO |
Adjusts automatically to the natural colors. |
|
MWB |
Use this when the problem of unnatural colors is not resolved. |
|
FINE |
Set this when shooting outdoors on a sunny day. |
|
CLOUD |
Set this when shooting on a cloudy day or inside a shade. |
|
HALOGEN |
Set this when shooting under illumination such as a video light. |