
Copying |
Copying Selected Files |
Select and copy the desired videos or still images individually.
- 1
- 2
- 3
- 4
- 5
- 6
- 7
- 8
- 9
- 10
- 11

Select video or still image mode.

Tap “SELECT AND CREATE” (video) or “SELECT AND SAVE” (still image).
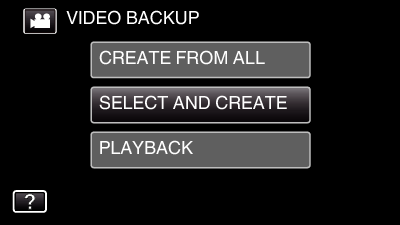
While the video mode is shown in the image, the same operations apply for the still image mode.
Tap ![]() to switch between the video and still image modes.
to switch between the video and still image modes.

Tap “Blu-ray DISC” or “DVD(AVCHD)”.
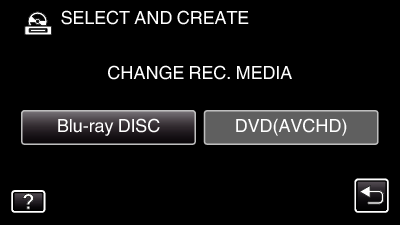
The media changes to the tapped item. Select the appropriate setting according to the disc.
Selecting “Blu-ray DISC” enables you to save videos in a Blu-ray disc in the high definition quality.
Selecting “DVD(AVCHD)” enables you to save videos in a DVD in the high definition quality.

Tap “SELECT FROM SCENES” (video) or “SELECT FROM IMAGES” (still image).

While the video mode is shown in the image, the same operations apply for the still image mode.
Tap ![]() to switch between the video and still image modes.
to switch between the video and still image modes.

Tap on the videos or still images to copy.
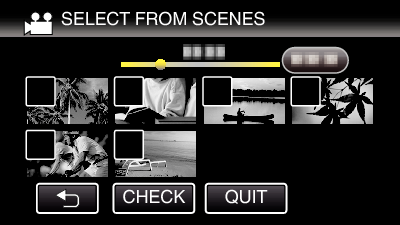
A check mark appears on the selected file.
To remove the check mark, tap on the file again.
Tap “CHECK” to check the file.
After checking, tap ![]() .
.

After selecting all the files, tap “SAVE”.
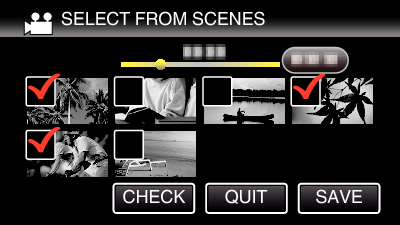

Tap “EXECUTE”.
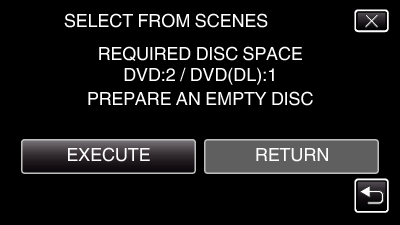
The number of discs required to copy the files is displayed.
Prepare the discs accordingly.

Tap “AUTO” or “BY DATE”. (  mode only)
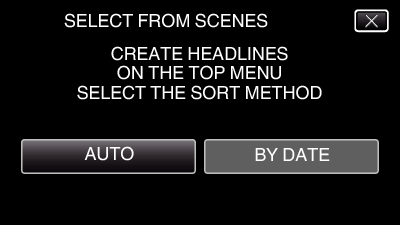
When “AUTO” is selected, videos with similar recording dates are displayed in groups.
When “BY DATE” is selected, videos are displayed according to recording dates.

Tap “EXECUTE”.
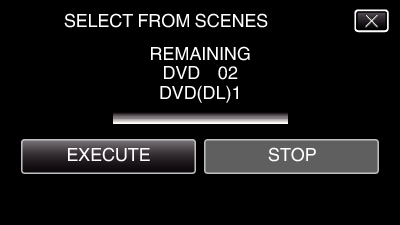
When “INSERT THE NEXT DISC TO CREATE OR PRESS STOP TO EXIT” appears, change the disc.

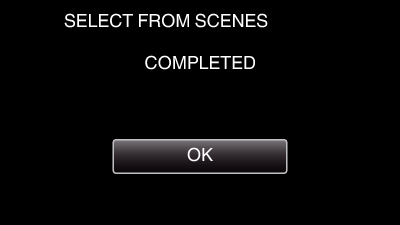
Tap “OK” when “COMPLETED” is displayed.

Press and hold the  button for 2 seconds or more to turn off this unit and disconnect the USB cable.
Caution
- Do not turn off the power or remove the USB cable until copying is complete.
- Files that are not on the index screen during playback cannot be copied. Special files cannot be copied either.
- All DVDs will be finalized automatically.
While files cannot be added to the DVD-R/DVD-RW later, files can still be added to the BD-R/BD-RE. - DVDs that are created in “DVD(AVCHD)” format are playable only on AVCHD compatible devices.
Memo
- To check the created disc, refer to “ Playing Back with a BD Writer (External Blu-ray Drive) ”.