Setting (Once setting is done, start from the “Regular Operation” below)
1Create a QR code.
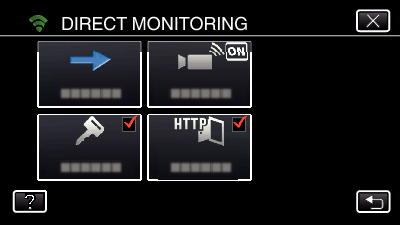
Enter values in the required items for direct monitoring.
Password: set a password to connect this camera to the device by direct monitoring. (8 to 63 characters (64 characters in case of hexadecimal))
Enforced Group Owner: setting used to enable a connection with a device that does not support Wi-Fi Direct. Normally set to “ON”.
HTTP Port: Normally set to “80”.
2Display the screen for reading the QR code.
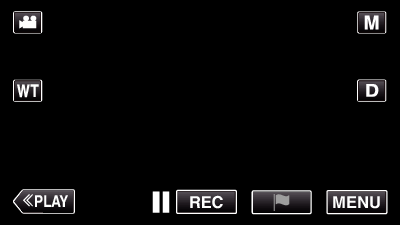
Tap “MENU”.
(Operation on this camera)
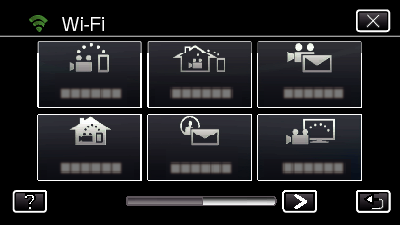
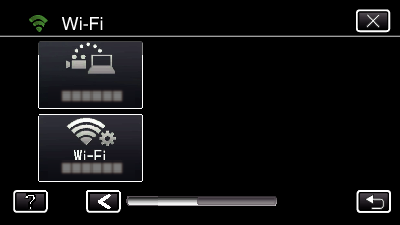
Tap the “Wi-Fi” (  ) icon.
(Operation on this camera)
Tap  on the lower right of the screen.
(Operation on this camera)
Tap “COMMON Wi-Fi SETTING”.
(Operation on this camera)
3Read a QR code.
Read a QR code.
(Operation on this camera)
Tap “OK”.
Tap “NEXT” to return to the screen to read the QR code.
Regular Operation
4Connecting the Smartphone to the Camera Wirelessly
Connection by entering the Wi-Fi password
Tap “MENU”.
(Operation on this camera)
Set the camera to the recording mode.
Tap the “Wi-Fi” (  ) icon.
(Operation on this camera)
Tap the “DIRECT MONITORING” (  ) icon in the “Wi-Fi” menu.
(Operation on this camera)
Tap “START” (  ).
).
(Operation on this camera)
When iFrame is selected for “VIDEO REC FORMAT”, the following display appears and recording mode is switched to the 50i mode in AVCHD.
This display disappears automatically after approximately 3 seconds, but disappears immediately if the screen is tapped.
Check the SSID and the PASS being displayed on the screen of the camera.
Select the SSID in step 5 from the Wi-Fi network selection screen of your smartphone, and enter the PASS on the password screen.
(Operation on the smartphone (or computer))
For details on connecting your smartphone (or computer) to a Wi-Fi network, please refer to the instruction manual of the phone terminal in use.
A connection is established and  appears on the camera’s screen.
Connection by Wi-Fi Protected Setup (WPS)
Tap “MENU”.
(Operation on this camera)
Set the camera to the recording mode.
Tap the “Wi-Fi” (  ) icon.
(Operation on this camera)
Tap the “DIRECT MONITORING” (  ) icon in the “Wi-Fi” menu.
(Operation on this camera)
Tap “START” (  ).
).
(Operation on this camera)
When iFrame is selected for “VIDEO REC FORMAT”, the following display appears and recording mode is switched to the 50i mode in AVCHD.
This display disappears automatically after approximately 3 seconds, but disappears immediately if the screen is tapped.
Tap “WPS”.
(Operation on this camera)
Activate WPS on the smartphone (or computer) within 2 minutes.
(Operation on the smartphone (or computer))
To activate WPS, refer to the instruction manual of the device in use.
A connection is established and  appears on the camera’s screen.
5Monitoring the Images from a Smartphone (or Computer)
Smartphone (Android / iPhone)
Prior to use this function, a smartphone application needs to be installed on the smartphone.
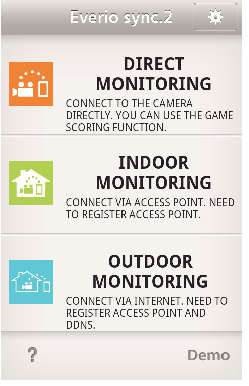
Start “Everio sync. 2” on the smartphone after setting DIRECT MONITORING.
The recording screen is displayed.
Operate from a smartphone
How to operate from a smartphone
Computer (Windows 7)
Tap the URL button shown on the camera’s screen.
(displayed when the computer and the camera are connected wirelessly.)
The URL for the computer to connect to appears.
Check the URL displayed on the camera screen, which starts from “http://”.
After checking the URL, tap “QUIT” to return to the previous screen.
Start Internet Explorer (web browser) on the computer and enter the URL.


_UJDCILmpidhcjd.png)
 on the lower right of the screen.


 ) icon in the “Wi-Fi” menu.