Setting (Once setting is done, start from the “Regular Operation” below)
1Create a QR code.
Enter values in the required items for the TV monitor.
MAC address filter: set to “ON” if monitoring images with a specific TV device.
Add the MAC address: register the physical address when monitoring images with a specific TV device. (Up to 8 addresses can be registered)
2Display the screen for reading the QR code.
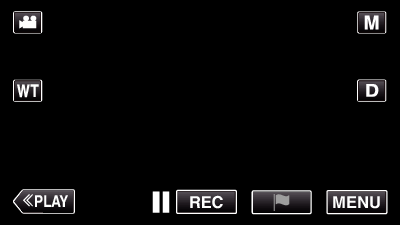
Tap “MENU”.
(Operation on this camera)
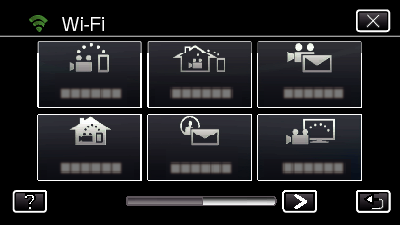
Tap the “Wi-Fi” (  ) icon.
(Operation on this camera)
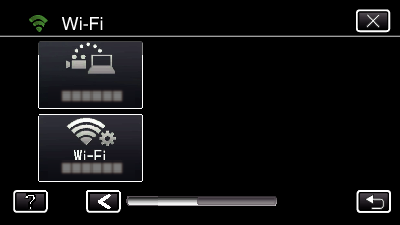
Tap  on the lower right of the screen.
(Operation on this camera)
Tap “COMMON Wi-Fi SETTING”.
(Operation on this camera)
3Read a QR code.
Read a QR code.
(Operation on this camera)
Tap “OK”.
Tap “NEXT” to return to the screen to read the QR code.
4Registering the access points (wireless LAN router) to this unit
Wi-Fi Protected Setup (WPS) Registration
Tap “MENU”.
(Operation on this camera)
Tap the “Wi-Fi” (  ) icon.
(Operation on this camera)
Tap  on the lower right of the screen.
(Operation on this camera)
Tap “COMMON Wi-Fi SETTING”.
(Operation on this camera)
Tap “ACCESS POINTS”.
(Operation on this camera)
Tap “ADD”.
(Operation on this camera)
Tap “EZ REGISTRATION WPS”.
(Operation on this camera)
Activate WPS of the access point (wireless LAN router) within 2 minutes.
To activate WPS, refer to the instruction manual of the device in use.
After registration is complete, tap “OK” on the camera’s screen.
(Operation on this camera)
Search the access point, and select from the list.
Set the name (SSID) of the access point (wireless LAN router) and the password beforehand.
Tap “MENU”.
(Operation on this camera)
Tap the “Wi-Fi” (  ) icon.
(Operation on this camera)
Tap  on the lower right of the screen.
(Operation on this camera)
Tap “COMMON Wi-Fi SETTING”.
(Operation on this camera)
Tap “ACCESS POINTS”.
(Operation on this camera)
Tap “ADD”.
(Operation on this camera)
Tap “SEARCH”.
(Operation on this camera)
The search results appear on the camera’s screen.
Tap the name (SSID) of the desired access point from the list of search results.
(Operation on this camera)
Register a password.
(Operation on this camera)
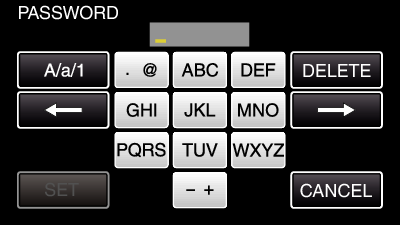
Tap on the on-screen keyboard to enter characters. The character changes with every tap.
“ABC”, for example, enter “A” by tapping once, “B” by tapping twice, or “C” by tapping 3 times.
Tap “DELETE” to delete a character.
Tap “A/a/1” to select character input type from upper case letter, lower case letter, and number.
Tap  or
or  to move one space to the left or right.
The password is not required if the wireless LAN router is not security protected.
After registration is complete, tap “OK” on the camera’s screen.
(Operation on this camera)
Other methods, such as “Manual Registration” and “WPS PIN Registration” are also available. Refer to the following link for details.
Regular Operation
5Connect the TV to the access point.
Connect the DLNA compatible TV to the access point (this function is available for a connection via cables as well)
For details on connecting your TV to a Wi-Fi network, please refer to the instruction manual of the TV in use.
6Connecting This Camera to the TV
Tap “MENU”.
(Operation on this camera)
Tap the “Wi-Fi” (  ) icon.
(Operation on this camera)
Tap “TV MONITORING” (  ).
).
(Operation on this camera)
Tap “START” (  ).
).
(Operation on this camera)
Start making a connection.
(Operation on this camera)
After the connection is completed, wait for the DLNA device to start up.
(Operation on this camera)
If a considerable number of videos/still images are recorded in the camera, it may take some time to start.
Images appear on the monitor of the DLNA device
(Operation on DLNA device)
From the following instructions, perform operations on the DLNA device.
For details on using the TV, refer to the instruction manual of the TV in use.
If no image is displayed during TV monitoring, tap “STOP” to start from step 1.
If the DLNA compatible TV in use cannot detect Everio, tap “STOP” to start from the step 1 again.


_UJDCILmpidhcjd.png)
 on the lower right of the screen.


 ).
).


