Copying |
Backing Up All Files |
Before making backup, make sure that enough free space is left in the computer's hard disk (HDD).
Backup will not start if there is not enough free space.
- 1
- 2
- 3
- 4
- 5
- 6
- 7
- 8

Remove the AC adapter and battery pack from this unit.

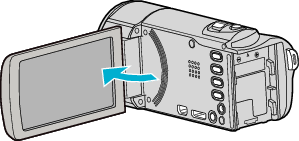
Open the LCD monitor.

Connect the USB cable and the AC adapter.
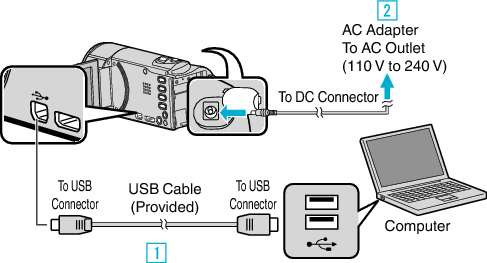


This unit powers on automatically when the AC adapter is connected.
Be sure to use the supplied AC adapter.


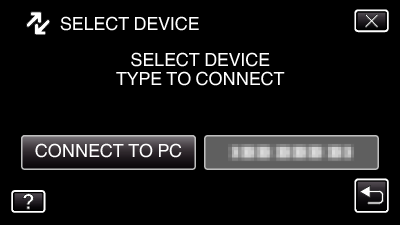
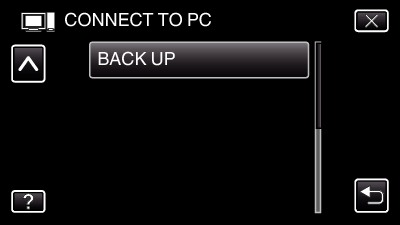
Tap “CONNECT TO PC”.

Tap “BACK UP”.
Tap ![]() to exit the menu.
to exit the menu.
Tap ![]() to return to the previous screen.
to return to the previous screen.
The provided software Everio MediaBrowser 4 starts up on the computer.
The subsequent operations are to be performed on the computer.

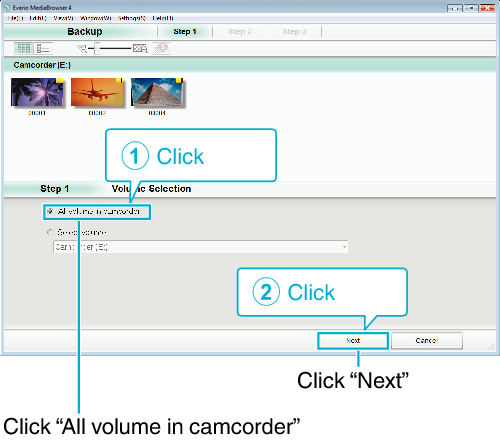
Select the source of the image file.

Start backup.
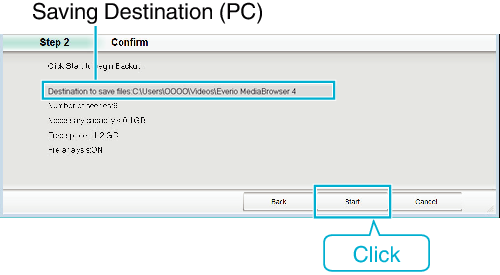
Backup starts.

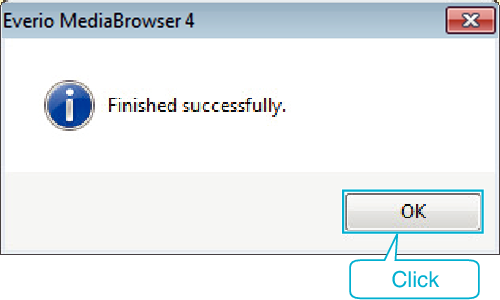
After backup is complete, click “OK”.
Memo
- Before making backup, load the SD card in which the videos and still images are stored on this unit.
- If you encounter any problems with the provided software Everio MediaBrowser 4, please consult the “Pixela User Support Center”.
- Delete unwanted videos before making backup.
It takes time to back up many videos.
| Telephone |
USA and Canada (English): +1-800-458-4029 (toll-free) |
|---|---|
| Homepage |