-

- Using Wi-Fi
-
Image Monitoring via an Access Point at Home (INDOOR MONITORING)
Image Monitoring via an Access Point at Home ( INDOOR MONITORING )
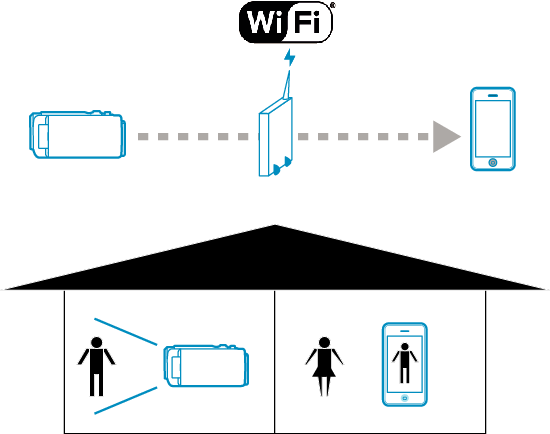
Connect the camera and smartphone wirelessly via access point (wireless LAN router) that has been set up at home.
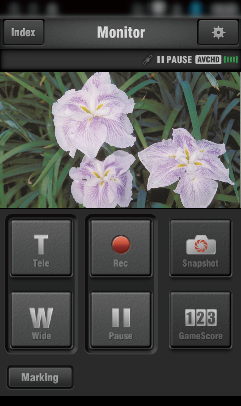
You can monitor the images captured on the camera from the smartphone connected.
Recording of videos and still images may be performed while monitoring.
Caution
This function is not designed for disaster or crime prevention.
To prevent the situation of forgetting to turn off the power, this unit will turn off automatically after 10 days of continuous usage.
When not monitoring from a smartphone, the focus of the camera is fixed.
Even when monitoring from a smartphone, the focus of the camera will be fixed if not operated for more than 3 hours. (Focus works again when the camera is operated.)
What You Need
Smartphone
Access Point (Wireless LAN Router)
Use a product that has a Wi-Fi certification logo.
Memo
Depending on the access point (wireless LAN router) in use and signal strength, you may experience connection problems or slow connections.
Operation Method
1Connect the camera to the access point (wireless LAN router)

Connect the camera to the access point by either of the following methods.
Wi-Fi Protected Setup (WPS) Registration
Follow the operations below if the access point (wireless LAN router) in use supports WPS.
Tap “MENU”.
(Operation on this camera)

The top menu appears.
Tap the “Wi-Fi” (  ) icon.
(Operation on this camera)
_UJDCILympypskr.png)
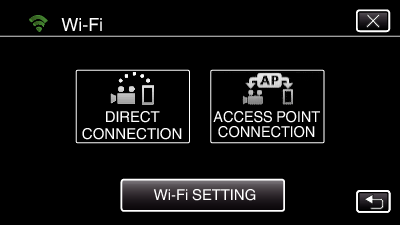
Tap “Wi-Fi SETTING”.
(Operation on this camera)
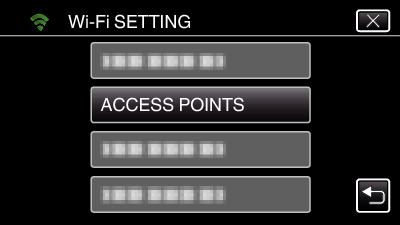
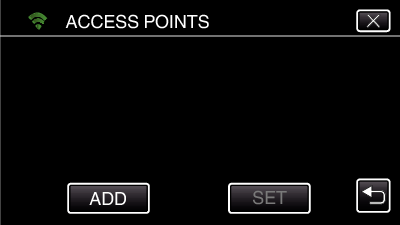
Tap “ACCESS POINTS”.
(Operation on this camera)
Tap “ADD”.
(Operation on this camera)
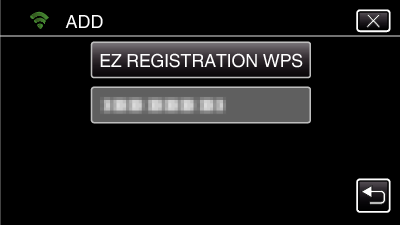
Tap “EZ REGISTRATION WPS”.
(Operation on this camera)
Activate WPS of the access point (wireless LAN router) within 2 minutes.
To activate WPS, refer to the instruction manual of the device in use.
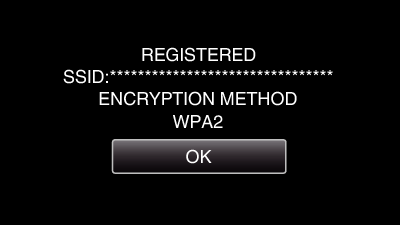
After registration is complete, tap “OK” on the camera’s screen.
(Operation on this camera)
Select the access point, then tap “SET”.
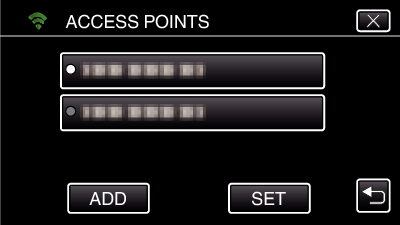
If several access points are registered, tap on the access point to be used, then tap “USE”.
To delete the access point registered, tap on the access point, then tap “DELETE”.
The following registration methods are also available.
2Connecting Smartphone to Access Point (Wireless LAN Router)

Connect the smartphone to the access point (wireless LAN router) at home.
For details on how to connect, refer to the instruction manual of the device in use or the access point (wireless LAN router).
This setting is not required if the smartphone has already been connected to the access point (wireless LAN router) at home.
3Monitoring the images by connecting the smartphone and the camera

Install “Everio sync. 3” on the smartphone in advance.
Operation on this camera
Tap “MENU”.
(Operation on this camera)
The top menu appears.
Tap the “Wi-Fi” ( ) icon.
(Operation on this camera)
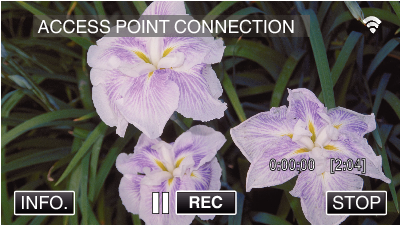
Tap “ACCESS POINT CONNECTION”.
(Operation on this camera)
The following is displayed when the camera is connected to the access point.
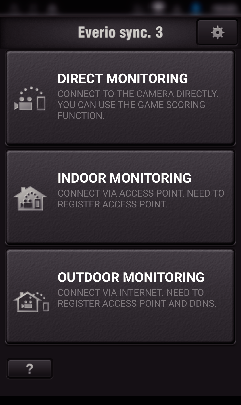
Operation on the smartphone
Start “Everio sync. 3” on the smartphone after setting INDOOR MONITORING.

Tap “INDOOR MONITORING”.
Log in with your username and password.
(if authentication cannot be achieved)

The username is “everio” and the default password is “0000”.
To change the password, it is necessary to generate a QR code.