-

- Using Wi-Fi by Creating a QR Code
-
Registering Access Point Manually
Registering Access Point Manually
1Creating a QR Code
Enter the items required for registering the access point
All items will be overwritten and set. Enter all the required items.
SSID: Set the identification name (SSID) of the access point.
Security Authentication: Set the encryption standard for communication security.
Password: Set the password for the access point.
DHCP: Specify whether to obtain the required information for internet connection automatically from the DHCP server (ON) or not (OFF).
When DHCP is set to ON, it is not necessary to set the items following the IP address.
IP Address: Set the information on internet connection (IP address) of the camera.
Subnet Mask: Set the information on internet connection (subnet mask) of the camera.
Default Gateway: Set the information on internet connection (default gateway) of the camera.
Primary DNS: Set the information on internet connection (primary DNS) of the camera.
Secondary DNS: Set the information on internet connection (secondary DNS) of the camera.
2Display the screen for reading the QR code.
Tap “MENU”.
(Operation on this camera)

The top menu appears.
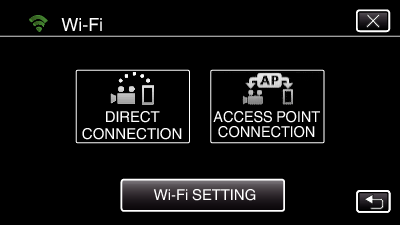
Tap the “Wi-Fi” (  ) icon.
(Operation on this camera)
_UJDCILympypskr.png)
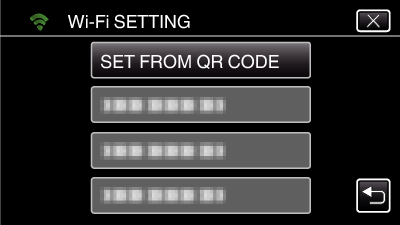
Tap “Wi-Fi SETTING”.
(Operation on this camera)
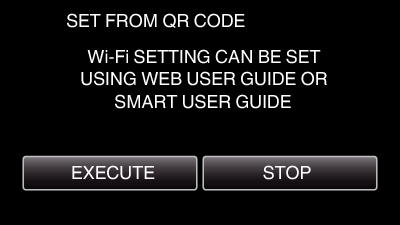
Tap “SET FROM QR CODE”.
Tap “EXECUTE”.
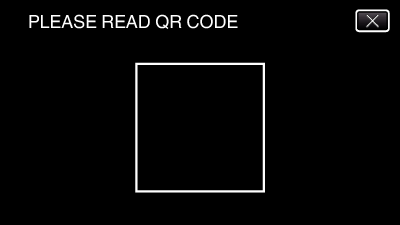
3Read a QR code.
Read a QR code.
(Operation on this camera)
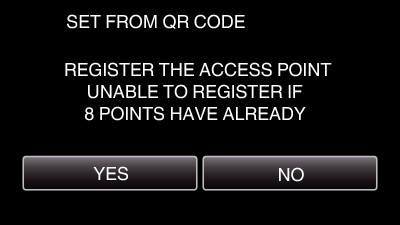
Tap “YES”.
Tap “OK”.
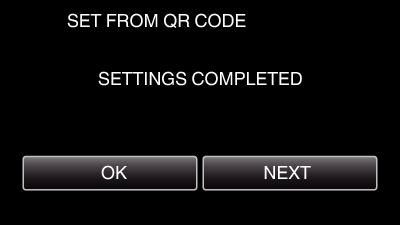
Tap “NEXT” to return to the screen to read the QR code.
Set contents are saved.