-

- Using Wi-Fi
- Changing the Settings
-
Registering Access Point Using Wi-Fi Protected Setup (WPS)
Registering Access Point Using Wi-Fi Protected Setup (WPS)
Follow the operations below if the access point (wireless LAN router) in use supports WPS.
Tap “MENU”.
(Operation on this camera)

The top menu appears.
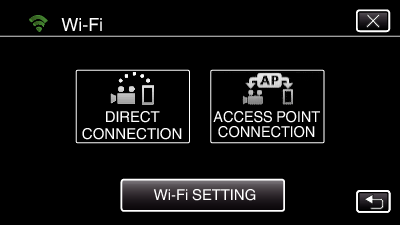
Tap the “Wi-Fi” (  ) icon.
(Operation on this camera)
_UJDCILympypskr.png)
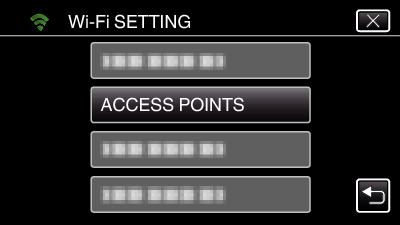
Tap “Wi-Fi SETTING”.
(Operation on this camera)
Tap “ACCESS POINTS”.
(Operation on this camera)
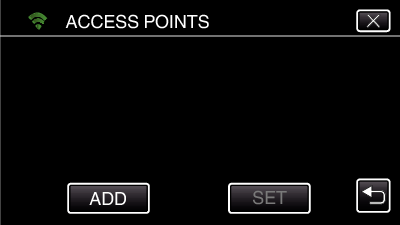
Tap “ADD”.
(Operation on this camera)
Tap “EZ REGISTRATION WPS”.
(Operation on this camera)
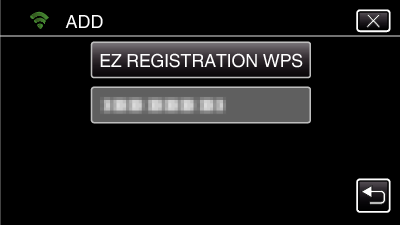
Activate WPS of the access point (wireless LAN router) within 2 minutes.
To activate WPS, refer to the instruction manual of the device in use.
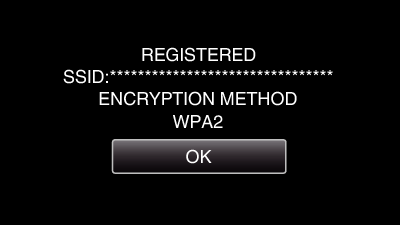
After registration is complete, tap “OK” on the camera’s screen.
(Operation on this camera)
Select the access point, then tap “SET”.
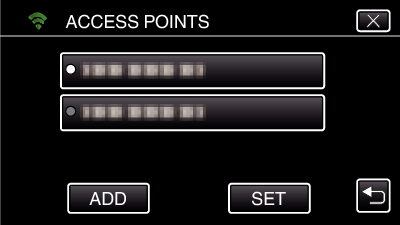
If several access points are registered, tap on the access point to be used, then tap “USE”.
To delete the access point registered, tap on the access point, then tap “DELETE”.