Recording the Location Information
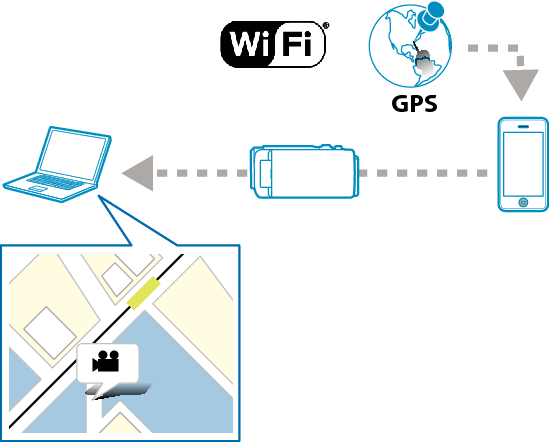
You can record the location information of the venue where recording is taking place via direct connection (Wi-Fi Direct) with a smartphone.
To obtain the location information, it is necessary to connect the smartphone to the camera and run the smartphone application.
It is also necessary to set the “LOCATION INFORMATION SETTING” of the smartphone application.
Activate the GPS function of the smartphone in advance.
The recorded location information can be used on the software provided with this unit.
What You Need
Settings Required in Advance
Set up your camera and smartphone by performing the following operations.
For a smartphone with WPS support, refer to the “Wi-Fi Protected Setup (WPS)”.
*WPS is a method to connect the camera and the smartphone wirelessly by easy button operations.
Connection by entering the Wi-Fi password
Tap “MENU”.
(Operation on this camera)
Set the camera to the recording mode.
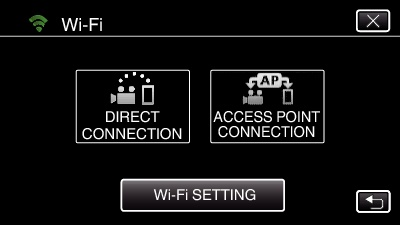
Tap the “Wi-Fi” (  ) icon.
(Operation on this camera)
Tap the “DIRECT CONNECTION” (  ) icon in the “Wi-Fi” menu.
(Operation on this camera)
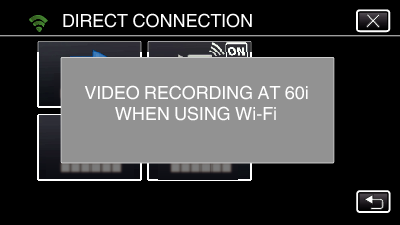
When “60p” is selected for “SYSTEM SELECT”, the following display appears and recording mode is switched to 60i mode.
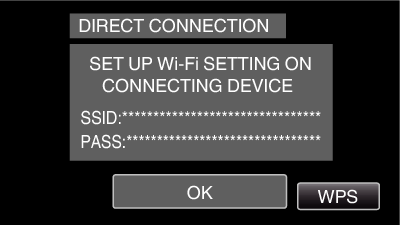
Check the SSID and the PASS being displayed on the screen of the camera.
Select the SSID in step 4 from the Wi-Fi network selection screen of your smartphone, and enter the PASS on the password screen.
(Operation on the smartphone)
For details on connecting your smartphone to a Wi-Fi network, please refer to the instruction manual of the device in use.
A connection is established and  appears on the camera’s screen.
Connection by Wi-Fi Protected Setup (WPS)
Tap “MENU”.
(Operation on this camera)
Set the camera to the recording mode.
Tap the “Wi-Fi” (  ) icon.
(Operation on this camera)
Tap the “DIRECT CONNECTION” (  ) icon in the “Wi-Fi” menu.
(Operation on this camera)
When “60p” is selected for “SYSTEM SELECT”, the following display appears and recording mode is switched to 60i mode.
Tap “WPS”.
(Operation on this camera)
Activate WPS on the smartphone within 2 minutes.
(Operation on the smartphone)
To activate WPS, refer to the instruction manual of the device in use.
A connection is established and  appears on the camera’s screen.
Operation Method
Activate the GPS function of the smartphone.
(Operation on the smartphone)
For details on using the smartphone, refer to the instruction manual of the device in use.
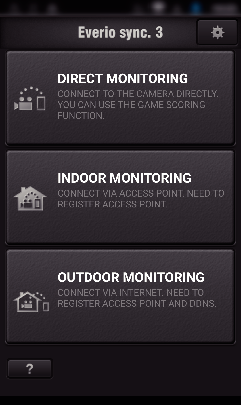
Start “Everio sync. 3” on the smartphone.
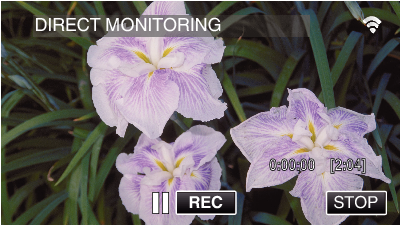
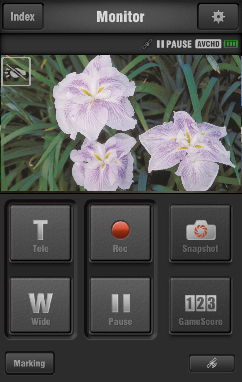
Monitor screen is displayed.
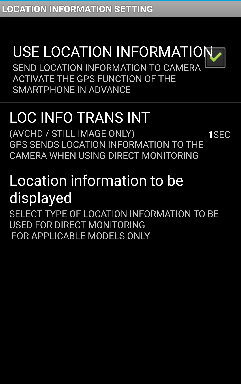
Tap  .
.
Setting
|
Details
|
|
|
ON: Uses the location information.
OFF: Does not use the location information.
|
|
|
For setting the interval (1 to 15 seconds) for sending the location information to the camera.
|
Location information to be displayed
|
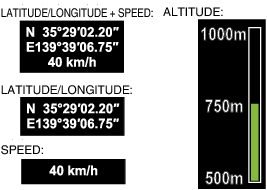
For selecting the GPS information display on the screen to be recorded on the camera.
OFF: Does not display the GPS information.
|
Receiving the location information
(Display on this camera)
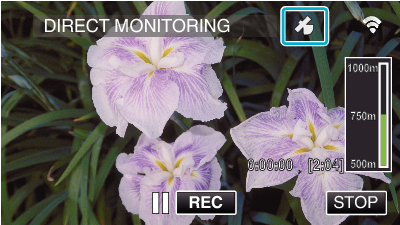
When the GPS location information is received from the smartphone, an icon (  ) is displayed on the camera screen.
Start recording.
(Operation on this camera)
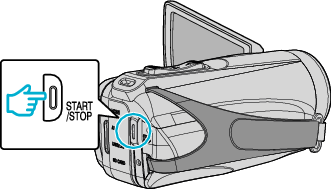
Press the “START/STOP” button to start a normal recording.
Manual recording cannot be performed.
It is not possible to switch to the playback mode.
The location information is recorded in the recorded data even when “LOCATION INFORMATION TO BE DISPLAYED” is set to “OFF”.
The location information uses the values acquired by the GPS function of the smartphone. Depending on the situation, the position may differ from the actual position.
The altitude display in particular may differ significantly from the actual altitude.
In places where it is difficult to receive GPS radio waves, the values may not be displayed or updated.
The altitude is displayed in a graph with a value range of 500 m from 0 to 5000 m. An altitude that is 0 m and below is displayed as 0mm while 5000 m and above is displayed as 5000m.
The altitude scale is switched automatically.


_UJDCILympypskr.png)
 ) icon in the “Wi-Fi” menu.