
Using Wi-Fi |
Setting the Sender’s E-mail Address |
Sets the address to be used for sending e-mails on the camera.
Memo
- By using Gmail as the sender’s mail address, some of the settings can be omitted.
Use of Gmail is recommended for users who have a Gmail account.
- 1
- 2
- 3
- 4
- 5
- 6
- 7
- 8
- 9
- 10
- 11

Tap “MENU”.
(Operation on this camera)
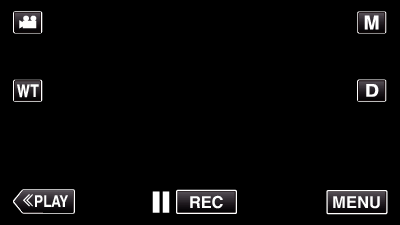
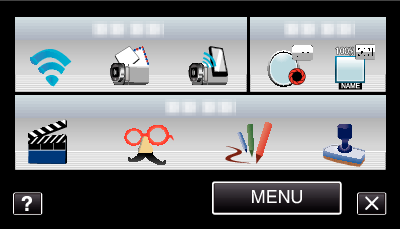
The shortcut menu appears.

Tap “Wi-Fi” (  ) in the shortcut menu.
(Operation on this camera)

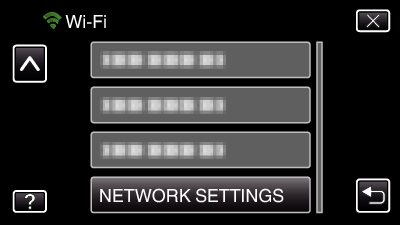
Tap “NETWORK SETTINGS”.
(Operation on this camera)

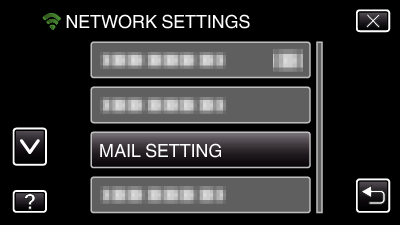
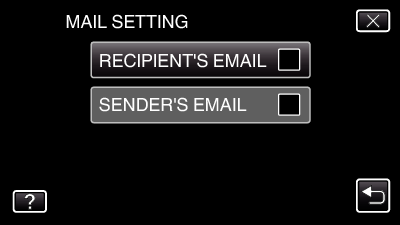
Tap “MAIL SETTING”.
(Operation on this camera)

Tap “SENDER'S EMAIL”.
(Operation on this camera)
Enter the e-mail address and tap “SET”.
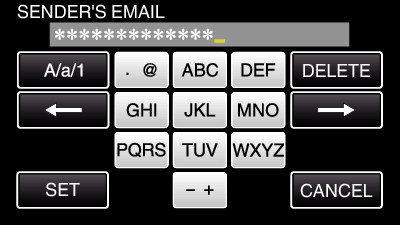
Tap on the on-screen keyboard to enter characters. The character changes with every tap.
Tap “DELETE” to delete a character.
Tap “CANCEL” to exit.
Tap “A/a/1” to select character input type from upper case letter, lower case letter, and number.
Tap ![]() or
or ![]() to move one space to the left or right.
to move one space to the left or right.
After setting, tap “SET”.

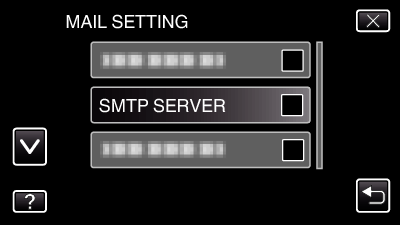
Tap “SMTP SERVER” (not necessary in the case of Gmail)
(Operation on this camera)
Enter the SMTP server and tap “SET”.
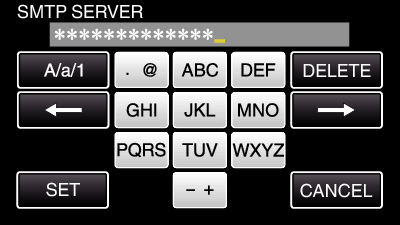
This is automatically configured if the sender’s mail address is Gmail.
Tap on the on-screen keyboard to enter characters. The character changes with every tap.
Tap “DELETE” to delete a character.
Tap “CANCEL” to exit.
Tap “A/a/1” to select character input type from upper case letter, lower case letter, and number.
Tap ![]() or
or ![]() to move one space to the left or right.
to move one space to the left or right.
After setting, tap “SET”.

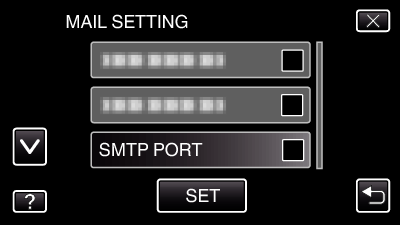
Tap “SMTP PORT” (not necessary in the case of Gmail)
Change the SMTP port number (if necessary) and tap “SET”.
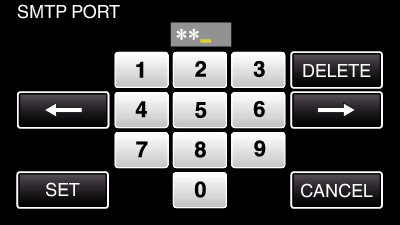
This is automatically configured if the sender’s mail address is Gmail.
Tap on the on-screen keyboard to enter characters. The character changes with every tap.
Tap “DELETE” to delete a character.
Tap “CANCEL” to exit.
Tap ![]() or
or ![]() to move one space to the left or right.
to move one space to the left or right.
After setting, tap “SET”.

Tap “AUTHENTICATE METHOD” (not necessary in the case of Gmail)
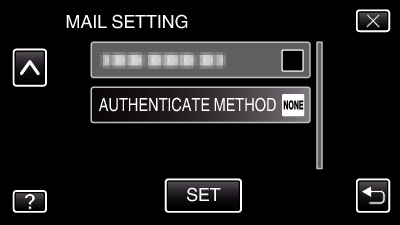
Tap the desired “AUTHENTICATE METHOD”.
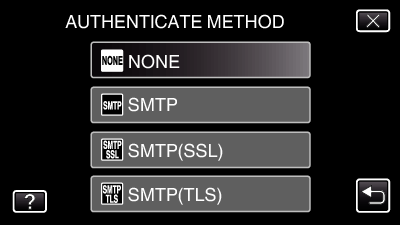
This is automatically configured if the sender’s mail address is Gmail.

Tap “USERNAME”.
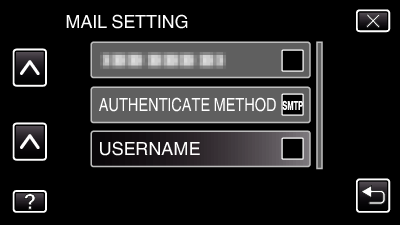
This is automatically configured if the sender’s mail address is Gmail.
Enter the username and tap SET.

For Gmail mail addresses, enter the name to the left of “@”.
Tap on the on-screen keyboard to enter characters. The character changes with every tap.
Tap “DELETE” to delete a character.
Tap “CANCEL” to exit.
Tap “A/a/1” to select character input type from upper case letter, lower case letter, and number.
Tap ![]() or
or ![]() to move one space to the left or right.
to move one space to the left or right.
After setting, tap “SET”.

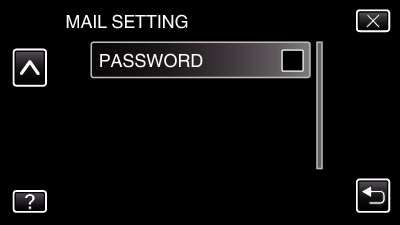
Tap “PASSWORD”.
Enter the password and tap “SET”.
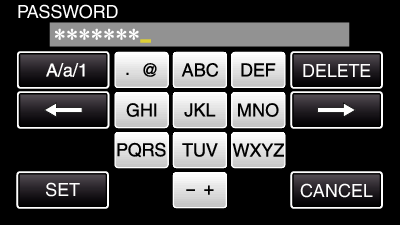
Tap on the on-screen keyboard to enter characters. The character changes with every tap.
Tap “DELETE” to delete a character.
Tap “CANCEL” to exit.
Tap “A/a/1” to select character input type from upper case letter, lower case letter, and number.
Tap ![]() or
or ![]() to move one space to the left or right.
to move one space to the left or right.
After setting, tap “SET”.

After setting all the necessary items, tap “SET”.
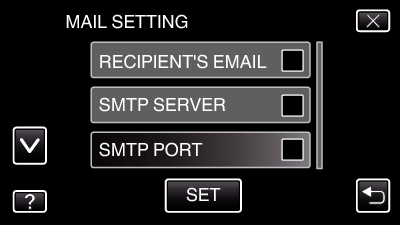
Settings will not be saved until “SET” is tapped.
|
SENDER'S EMAIL |
Enter the sender’s e-mail address. |
|
SMTP SERVER |
Enter the SMTP server address. |
|
SMTP PORT |
Set this when the SMTP port number needs to be changed. |
|
AUTHENTICATE METHOD |
Set this when the authentication method needs to be changed. |
|
USERNAME |
Enter the username. |
|
PASSWORD |
Enter the password. |
Caution
- It is necessary to obtain an e-mail account in advance.
- Some web-based mail addresses do not support this feature.
- These are Gmail settings as of January 2012.
Perform setting manually if changes have been made to the Gmail specifications. - To make use of addresses other than Gmail, please consult the mail service provider (Internet provider, etc.) for information on the settings.