
Recording |
Setting Metering Area |
You can set the brightness of a specified area as the standard.
- 1
- 2
- 3
- 4

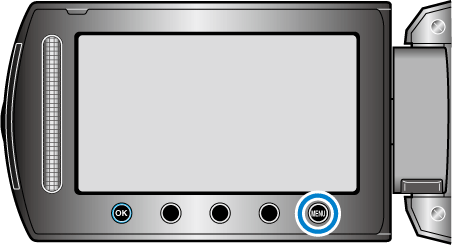
Touch  to display the menu.

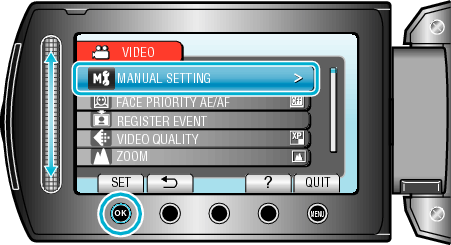
Select “MANUAL SETTING” and touch  .
.

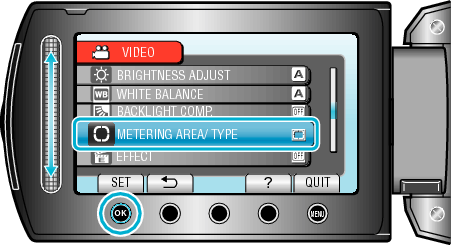
Select “METERING AREA/ TYPE” and touch .

Select “SPOT” and touch .
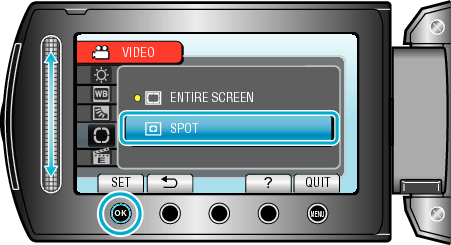
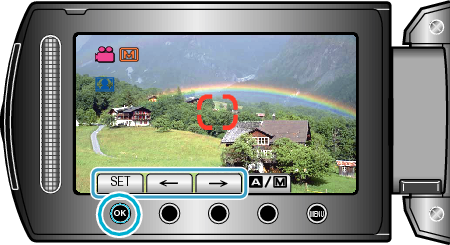
When “SPOT” is selected, select the position of the spot frame by touching the operation buttons " ![]() "/"
"/" ![]() ".
".
After selecting, touch ![]() to confirm.
to confirm.