
Recording |
Manual Recording |
You can adjust settings, such as brightness and shutter speed, by using the manual mode.
Manual recording can be set for both video and still image modes.
- 1
- 2
- 3
- 4
- 5
- 6

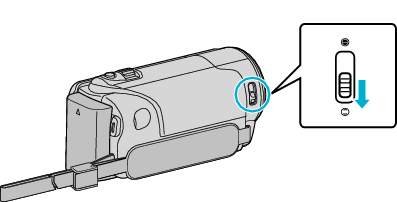
Open the lens cover.

Open the LCD monitor.
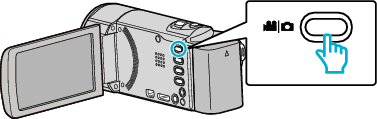
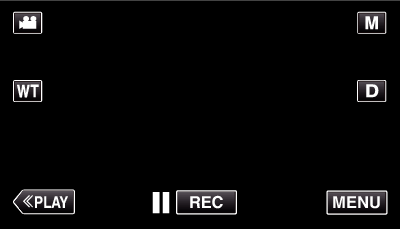
Set the recording mode to either ![]() video or
video or ![]() still image.
still image.
To switch the mode between video and still image, tap ![]() or
or ![]() on the recording screen to display the mode switching screen.
on the recording screen to display the mode switching screen.
Tap ![]() or
or ![]() to switch the mode to video or still image respectively. (You can also use the
to switch the mode to video or still image respectively. (You can also use the ![]() /
/ ![]() button on this unit.)
button on this unit.)

Select the Manual recording mode.
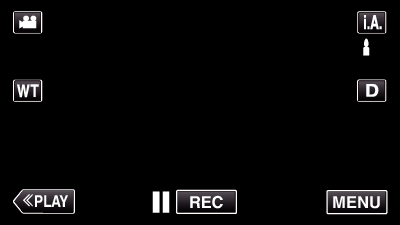
If the mode is ![]() Intelligent Auto, tap
Intelligent Auto, tap ![]() on the recording screen to display the mode switching screen.
on the recording screen to display the mode switching screen.
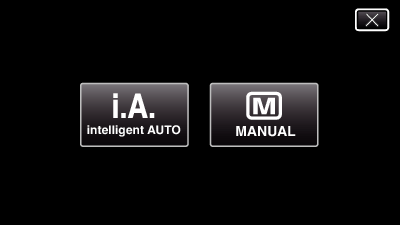
Tap ![]() to switch the recording mode to Manual.
to switch the recording mode to Manual.

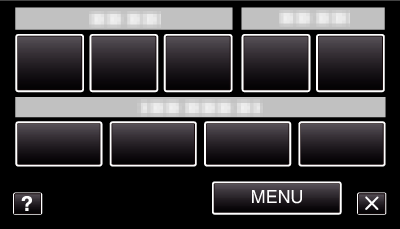
Tap “MENU”.
The shortcut menu appears.

Tap “MENU” in the shortcut menu.

Tap the item to set manually.
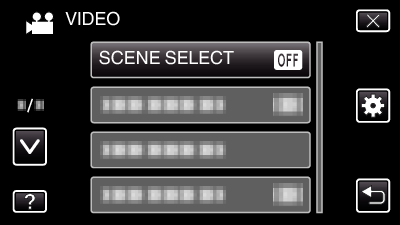
For details on the various manual settings, refer to “Manual Recording Menu”.
Memo
- The manual settings are displayed only in the manual mode.
Manual Recording Menu
The following items can be set.
| Name | Description |
|---|---|
|
SCENE SELECT |
Recordings that suit the shooting conditions can be performed easily. |
|
FOCUS |
Use manual focus if the subject is not focused automatically. |
|
BRIGHTNESS ADJUST |
Overall brightness on the screen can be adjusted. Use this when recording in a dark or bright location. |
|
WHITE BALANCE |
Overall color on the screen can be adjusted. Use this when the color on the screen appears differently from the actual color. |
|
BACKLIGHT COMP. |
Corrects the image when the subject appears dark due to backlight. Use this when shooting against the light. |
|
TELE MACRO |
Use this to take close-up (macro) shots of the subject. |