
Editing |
Deleting the Currently Displayed File |
Deletes the currently displayed file.
Caution
- Deleted files cannot be restored.

Tap  .
.
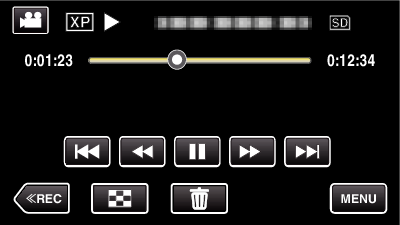
While the video mode is shown in the image, the same operations apply for the still image mode.

Tap “YES”.
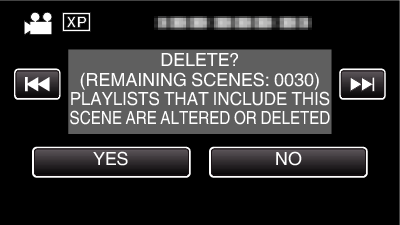
Tap ![]() /
/ ![]() to select the previous or next file.
to select the previous or next file.
When no file remains, the screen returns to the index screen.