
Playback |
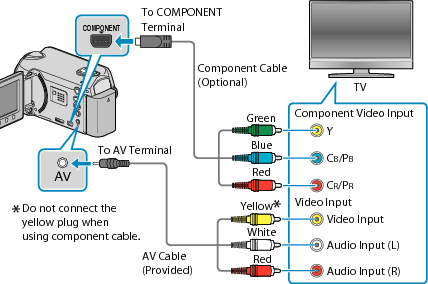
Connecting via the Component Connector |
- 1
- 2
- 3
- 4

Connect to the TV.
Press and hold the power button ![]() for 2 seconds or more to turn off the power.
for 2 seconds or more to turn off the power.

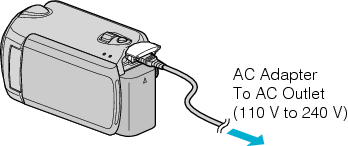
Connect the AC adapter to this unit.
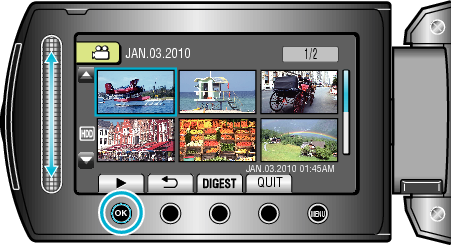
Set “ON-SCREEN DISPLAY” in the menu to “DISPLAY ALL” or “DISPLAY DATE ONLY”.

Press the external input button on the TV to switch to the input from this unit via the connected terminal.


Memo
- Change the settings in “COMPONENT OUTPUT” according to the connection.