
Copying |
Preparing a DVD Writer (CU-VD3) |
- 1
- 2
- 3
- 4

Remove the AC adapter and battery pack from this unit.

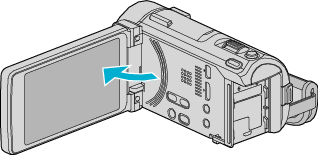
Open the LCD monitor.

Connect the USB cable and the AC adapter.
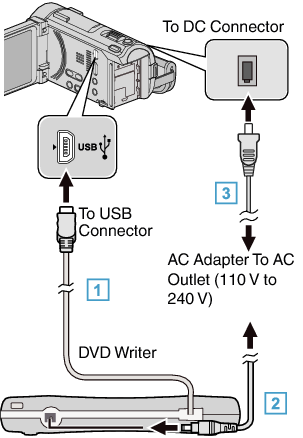

Connect the USB cable of the DVD writer to this unit.

Connect the AC adapter of the DVD writer.
Turn on the DVD writer.

Connect the AC adapter to this unit.
This unit powers on automatically when the AC adapter is connected.
This unit turns on and the “BACK-UP” menu appears.
While the USB cable is connected, the “BACK-UP” menu is displayed.
Refer also to the instruction manual of the DVD writer.

Insert a new disc.
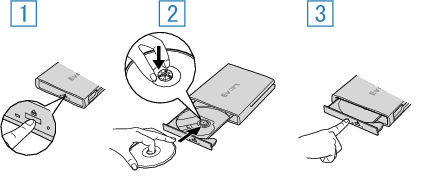
Press the eject button to open the disc tray.
Pull out the tray completely and load a new disc properly.
Push the disc tray in until it clicks into place.
Caution
- Be sure to turn off the power when connecting the devices.
Otherwise, electric shocks or malfunctions may occur.