
Main Page>
Copying> Creating Discs with a DVD Writer or External Blu-ray Drive> Copying Selected Playlists
Copying |
Copying Selected Playlists |
Arrange and copy the created playlists in the order you like.
- 1
- 2
- 3
- 4
- 5
- 6
- 7
- 8
- 9
- 10
- 11

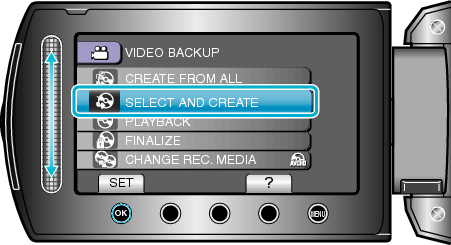
Select video mode.


Select “SELECT AND CREATE” and touch  .
.

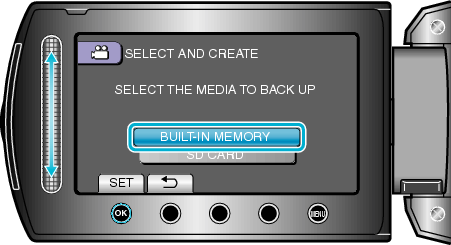
Select the media for copying and touch .

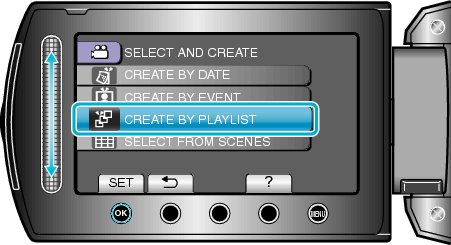
Select “CREATE BY PLAYLIST” and touch .

Select the desired playlists and touch .
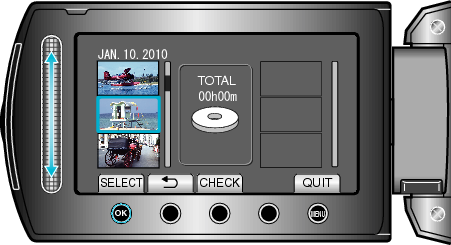
Touch “CHECK” to check the selected playlist.

Select the insertion point and touch .
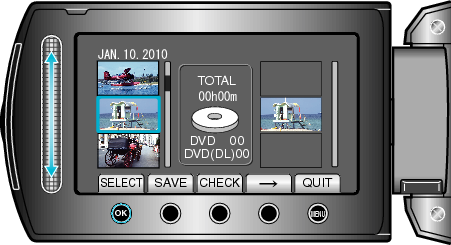
The selected videos are added to the playlist on the right.
To delete a video from the playlist, touch " ![]() " to select the video and touch
" to select the video and touch ![]() .
.
Repeat steps 4-5 and arrange the videos in the playlist.

After arranging, touch “SAVE”.


Select “EXECUTE” and touch .
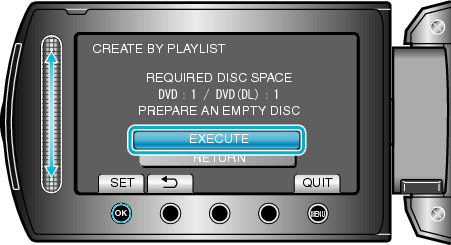
The number of discs required to copy the files is displayed.
Prepare the discs accordingly.
Touch “CHECK” to check the file to copy.

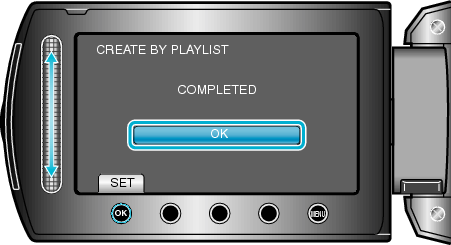
Select “EXECUTE” and touch .

When "INSERT NEXT DISC" appears, change the disc.

After copying, touch .

Close the LCD monitor, then disconnect the USB cable.
Caution
- Do not turn off the power or remove the USB cable until copying is complete.
- Files that are not on the index screen during playback cannot be copied.
Memo
- A list of playlists is displayed on the top menu of the created DVD.
- To check the created disc, select “PLAYBACK” in step 1.
- To create a playlist
When “DO YOU WANT TO FINALIZE?” appears
This appears when “AUTO FINALIZE” in the camera settings menu is set to “OFF”.
To play back on other devices, select “YES” and touch ![]() .
.
To add more files to the DVD later, select “NO” and touch ![]() .
.
Memo
- When two or more DVDs are created simultaneously, all the discs other than the last one will be finalized automatically even when “AUTO FINALIZE” is set to “OFF”.
- You can finalize a DVD even when “FINALIZE” is selected in the “BACK-UP” menu.
- To play back a BD-R disc on other devices, select “FINALIZE” after creating the disc.
(The “AUTO FINALIZE” function on the camera settings menu can only be used for creating DVDs.)
Close