Recording |
Recording at Intervals (TIME-LAPSE RECORDING) |
Enables the changes of a scene that occur slowly over a long period to be shown within a short time by taking frames of it at a certain interval.
This is useful for making observations such as the opening of a flower bud.
- 1
- 2
- 3
- 4
- 5

Open the LCD monitor and select the video mode.
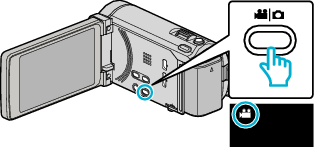
The video mode icon appears.

Tap “MENU”.
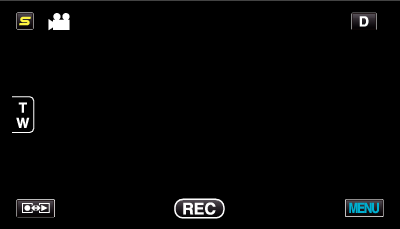

Tap “TIME-LAPSE RECORDING”.
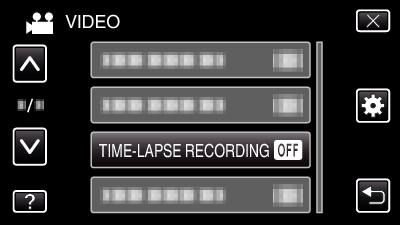
Tap ∧ or ∨ to move upward or downward for more selection.
Tap ![]() to exit the menu.
to exit the menu.
Tap ![]() to return to the previous screen.
to return to the previous screen.

Tap to select a recording interval (1 to 80 seconds).
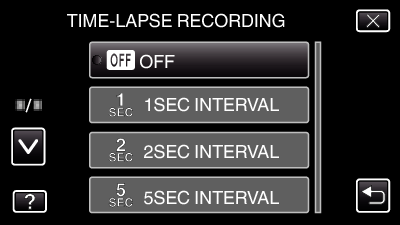
The greater the number of seconds, the longer the recording interval.
Tap ∧ or ∨ to move upward or downward for more selection.
Tap ![]() to exit the menu.
to exit the menu.
Tap ![]() to return to the previous screen.
to return to the previous screen.

Start recording.
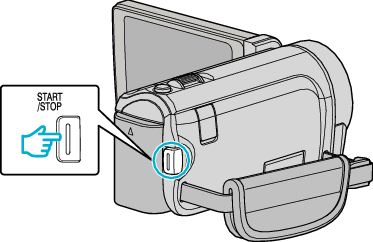
A frame is taken at intervals of the selected period.
When the recording interval is set to “20SEC INTERVAL” or higher, this unit switches to the power-saving mode between recordings.
At the next point to record, the power-saving mode will be turned off and recording will start automatically.
Press the START/STOP button again to stop recording.
Indications During Time-Lapse Recording
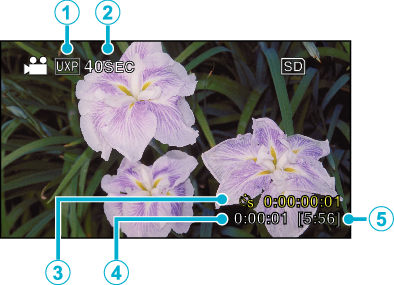
| Display | Description | |
|---|---|---|
 |
Video Quality |
Displays the icon of the video quality that is set. |
 |
Speed Indicator |
Displays the recording interval that is set. |
 |
Recorded Time |
Displays the actual recorded time of the video. Recorded time increases in units of frames. |
 |
Actual Elapsed Time |
Displays the actual elapsed time after recording starts. |
 |
Remaining Recording Time |
Remaining time left to record with the currently selected video quality. |
Time-Lapse Setting
The greater the number of seconds, the longer the recording interval.
| Setting | Details |
|---|---|
| OFF |
Deactivates the function. |
| 1SEC INTERVAL |
Takes a frame at 1-second intervals. |
| 2SEC INTERVAL |
Takes a frame at 2-second intervals. |
| 5SEC INTERVAL |
Takes a frame at 5-second intervals. |
| 10SEC INTERVAL |
Takes a frame at 10-second intervals. |
| 20SEC INTERVAL |
Takes a frame at 20-second intervals. |
| 40SEC INTERVAL |
Takes a frame at 40-second intervals. |
| 80SEC INTERVAL |
Takes a frame at 80-second intervals. |
Caution
- Audio cannot be recorded during time-lapse recording.
- Zooming, simultaneous still image recording, and image stabilizer are not available in time-lapse recording.
- When recording is stopped with the recorded time less than “0:00:00:17”, the video will not be saved.
- Seamless recording is disabled in time-lapse recording.
Memo
- Settings of time-lapse recording are not saved when the power is turned off.
- Recording stops automatically 99 hours after it is started.
- Make use of a tripod and AC adapter for time-lapse recordings with long intervals.
It is also recommended to fix the focus and white balance manually.
