When the power of this unit is turned on for the first time, it is necessary to select a display language and configure the internal clock for the initial settings. All operations are disabled until initial settings are configured.
-

- Getting Started
-
Configuring the Initial Settings
- Verifying the Accessories
- Turning on this Unit
- Opening the Terminal Cover (SD Card Cover)
- Charging
- Grip Adjustment
- Attaching the Lens Cap
- Inserting an SD Card
- Using the Touch Screen
- Configuring the Initial Settings
- Readjusting the Clock after Initial Settings are Configured
- Changing the Display Language after Initial Settings are Configured
- Holding this Unit
- Tripod Mounting
- Using this Unit Overseas
- Before Using Underwater or under Low Temperature
Configuring the Initial Settings
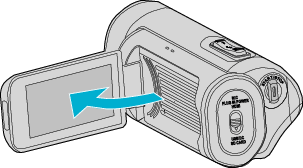
Open the LCD monitor.

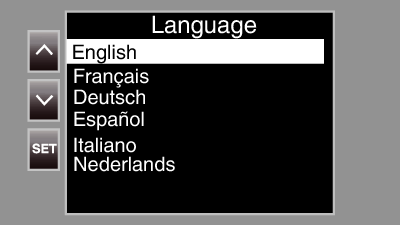
The power turns on, and a language selection screen appears.
Configure the language to use.

Tap  or
or  to select the language to use, followed by tapping “SET”.
Memo
The Language screen appears when the power of this unit is turned on for the first time, or when “System” ![]() “FACTORY PRESET” is executed from the menu.
“FACTORY PRESET” is executed from the menu.
The menus and messages on the LCD screen are displayed in the selected language.
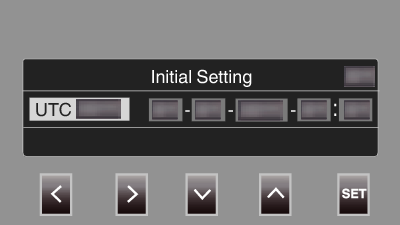
Set the time zone and date/time.

Move the cursor with 
 to select an item.
Use 
 to change the setting.
Memo
The Initial Settings screen appears when the power of this unit is turned on for the first time, or when the unit is powered on again about a month after the battery ran out.
Even when the power is turned off, the configured date/time data is stored using the built-in battery.
After the settings are configured, tap “SET” according to the time signal.
The clock is set to 0 seconds of the date and time entered.
Memo
The configured date/time data can be displayed on the LCD screen or recorded to an SD card.
The value of the year can be set in the range of “2000” to “2099”.
