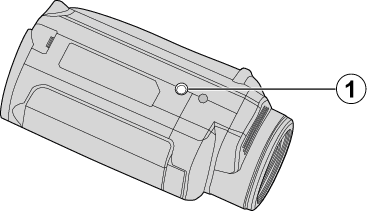
Names of Parts
Right Side
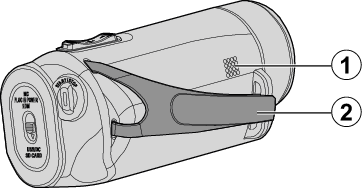
Top/Left/Rear Side
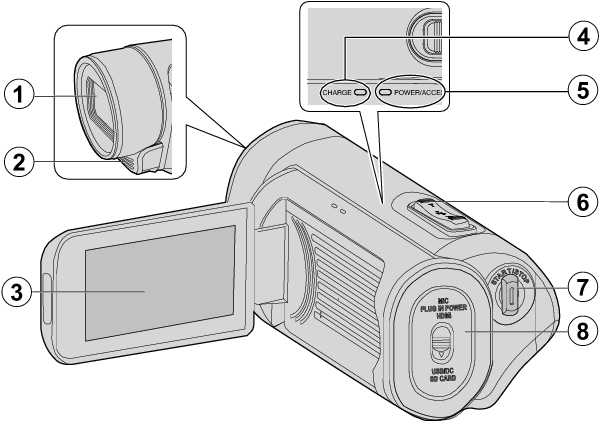
Lens
The lens is protected by a protective glass cover.
If the lens is dirty, use a commercially available lens blower to remove any dust, and a commercially available cleaning cloth to wipe off any dirt.
Do not cover the front of the lens with your fingers during recording.
Stereo Microphone
Do not cover the microphone with your fingers during video recording.
LCD Monitor
CHARGE (Charging) Lamp
Lights up: Charging in progress
Goes out: Charging finished
Blinks: Charging error or abnormal temperature
POWER/ACCESS (Power/Access) Lamp
Lights up/blinks during recording or playback.
Do not remove the SD card or any connecting cables.
Zoom/Volume Lever
During shooting: Adjusts the shooting range.
During playback (index screen): Moves to the next or previous page.
During video playback: Adjusts the volume.
START/STOP (Video Recording) Button
Starts/stops video recording.
Terminal Cover
Inside Terminal Cover
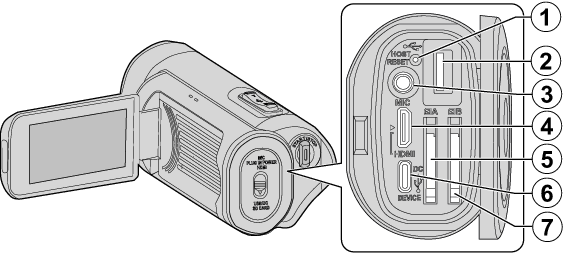
Reset Button
USB Host Terminal (Type-A)
Microphone Connector
This unit does not come with a hot shoe for mounting an external microphone.
When using an external microphone, it is recommended that the microphone be secured with a commercially available straight bracket.
HDMI Mini Connector
Connects to TV using an HDMI mini cable.
SD Card Slot A
Insert an optional SD card.
DC/USB Device Terminal (Type-C)
Connect to the AC adapter to perform charging.
It can also be used to connect the camera to a PC or Blu-ray recorder via a USB cable.
SD Card Slot B
Insert an optional SD card.
LCD Monitor
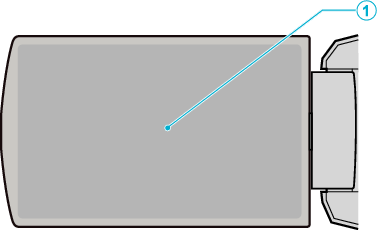
LCD Monitor
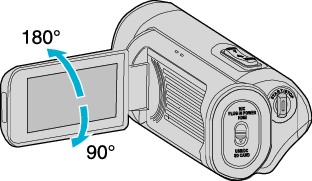
Turns the power on/off by opening and closing.
Enables self-portraits to be taken by rotating the monitor.
Caution
Do not press against the surface with force or subject it to strong impact.
Doing so may damage or break the screen.

