
Getting Started |
Operating Details |
Displaying Camera’s Screen on Smartphone- MONITOR Function

Switch to the video recording mode.

Press the “MENU” button to display the settings (SETTINGS) button.


Tap the settings (SETTINGS) button to display the settings menu.
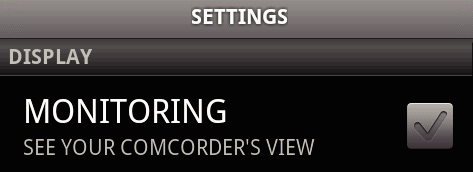

Tap [MONITORING] to display a check mark in the checkbox.


Press the “RETURN” button to exit the settings menu.
The camera’s screen appears on the smartphone.
Canceling the Monitor Display
- Remove the check mark from the checkbox in step 4.
Memo
- Images are displayed as a series of continuous still images.
Displaying the Map During Video or Still Image Playback
Switch to the video playback mode.
Press the “MENU” button to display the settings (SETTINGS) button.
Tap the settings (SETTINGS) button to display the settings menu.
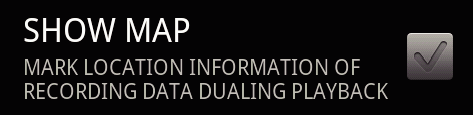
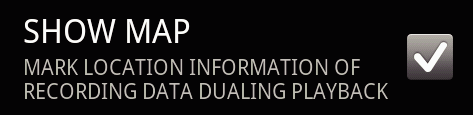
Tap [SHOW MAP] to display a check mark in the checkbox.
Press the “RETURN” button to exit the settings menu.
When a video or still image is played back, a map will be displayed based on the recorded location information.
Canceling the Map Display
- Remove the check mark from the checkbox in step 4.
Memo
- This function is also available in the still image playback mode.
- To display the map, it is necessary to activate location information transmission during video or still image recording.
- During video playback, the map changes (moves) together with the changes in location information.
- To display the map, internet connection is required. (Packet communication fees may be incurred.)
Recording Location Information
Switch to the video recording mode.
Press the “MENU” button to display the settings (SETTINGS) button.
Tap the settings (SETTINGS) button to display the settings menu.
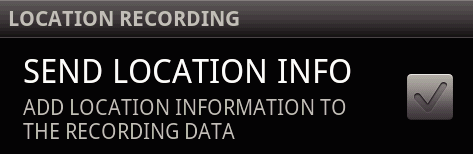
Tap [SEND LOCATION INFO] to display a check mark in the checkbox.

Press the “RETURN” button to exit the settings menu.
Canceling Location Information Transmission
- Remove the check mark from the checkbox in step 4.
Memo
- This function is not available if there is no GPS function in the smartphone.
- By default, the location information will be transmitted every 1 second.
You can change the transmission interval from the settings menu.
Changing the Transmission Interval
Switch to the video recording mode.
Press the “MENU” button to display the settings (SETTINGS) button.
Tap the settings (SETTINGS) button to display the settings menu.

Tap [CHANGE INTERVAL] to display the setting window.
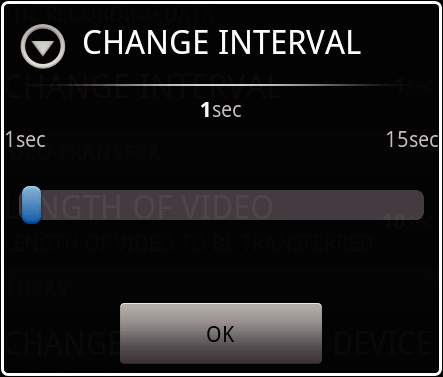
Move the slide bar in the setting window to the right and left to change the interval.

Tap [OK] to complete the setting.

Press the “RETURN” button to exit the settings menu.
Canceling the Setting
- Press the “RETURN” button in step 6
Memo
- This function is not available if there is no GPS function in the smartphone.
Displaying Google MapTM
- For operating instructions of the map, refer to the instruction manual of the smartphone.
- To cancel the magnified display of the map, press the “RETURN” button.
When “ ![]() ” is tapped, a map will be displayed on the full screen.
” is tapped, a map will be displayed on the full screen.
Transferring Videos to a Smartphone
Switch to the video playback mode.
Tap  /
/  to select the video to transfer.
Tap  to start playback.
Tap at the scene to start transferring to pause playback.
Press the “MENU” button to display the transfer (VIDEO TRANSFER) button, then tap on it.

Move the slide bar in the setting window to the right and left to select the length of the video.
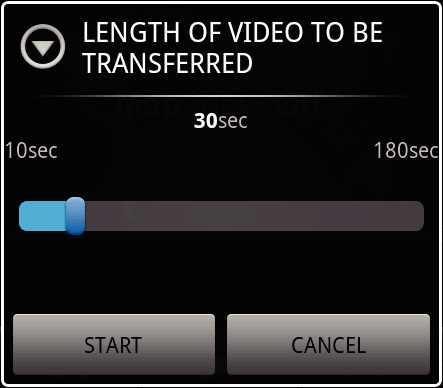
Memo
- The length of video that can be transferred is limited.
By default, it is set to 10 seconds.
You can set the time between 10 seconds to 180 seconds.
Tap [START].
Preparation for the transfer starts on the camera, and the transferring starts when preparation is done.
A progress status is displayed when transferring starts on the smartphone.
After transferring is complete, a window to select the data processing method appears.
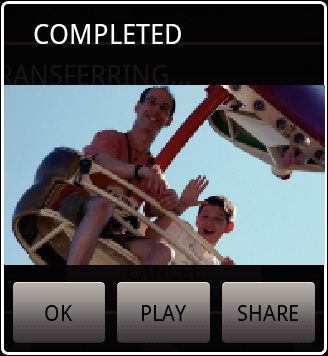

Tap [OK] to complete the transfer.
Checking the Transferred Video
- Tap [PLAY] in step 8 to play back the transferred video.
Uploading the Transferred Video to Youtube, etc.
- Tap [SHARE] in step 8 to display the list of destinations (services) to upload to.
Tap the desired service to start the uploading process. - To make use of a service, it is necessary to perform registration beforehand.
Canceling the Transfer
- Tap [CANCEL] in step 7 during transferring.
Transferring Still Images to a Smartphone
Switch to the video or still image playback mode.
Tap / to select the still image to transfer.
Tap to start playback.
For video playback, tap at the scene to transfer to pause playback.
Press the “MENU” button to display the transfer (CAPTURE) button.

Tap the transfer (CAPTURE) button to display the settings menu.
Preparation for the transfer starts on the camera, and the transferring starts when preparation is done.
A progress status is displayed when transferring starts on the smartphone.
After transferring is complete, a window to select the data processing method appears.
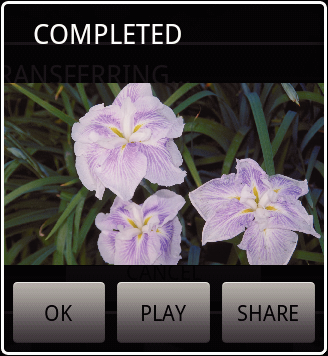
Tap [OK] to complete the transfer.
Checking the Transferred Still Image
- Tap [PLAY] in step 7 to play back the transferred still image.
Uploading the Transferred Still Image
- Tap [SHARE] in step 7 to display the list of destinations (services) to upload to.
Tap the desired service to start the uploading process. - To make use of a service, it is necessary to perform registration beforehand.
Canceling the Transfer
- Tap [CANCEL] in step 6 during transferring.
Changing the Connected Camera
Press the “MENU” button to display the settings (SETTINGS) button.
Tap the settings (SETTINGS) button to display the settings menu.
Tap [CHANGE CONNECTING DEVICE] to display the setting window.
Tap [OK] in the setting window.
The connection gets disconnected, and a device selection window appears.
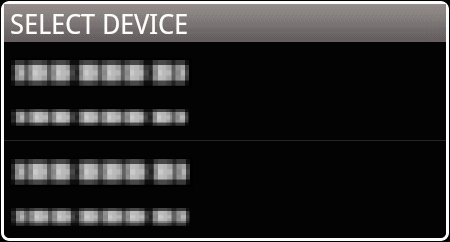
Tap on the device to connect to from the list displayed in the device selection window.
The selected device gets connected.
Canceling the Setting
- Tap [CANCEL] in step 4.
Changing the Software’s Background Color
Press the “MENU” button to display the settings (SETTINGS) button.
Tap the settings (SETTINGS) button to display the settings menu.
Tap [BACKGROUND COLOR] to display the setting window.
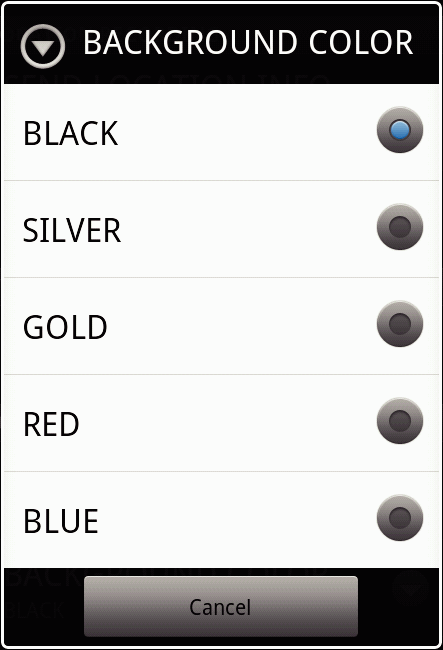
Tap the desired color in the background color setting window.
Press the “RETURN” button once.
The background changes to the selected color.
Canceling the Setting
- Tap [CANCEL] in step 4.
