When the power is first turned on, the Initial Setting screen for performing the initial settings in the camera recorder appears.
Set the date/time of the built-in clock in the [Initial Setting] screen.
All operations are disabled until initial settings are complete.
Initial Settings
TOP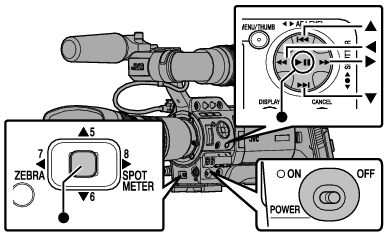
Memo
It is recommended to use the AC adapter as the power supply.
Be sure to close the lens cover.
Set the [POWER ON/OFF] switch to “ON”.
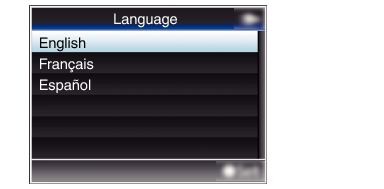
A language selection screen appears.
For U models
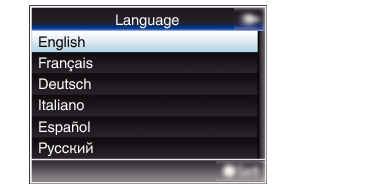
For E models
Memo
The selectable languages vary according to the destination.
The menus and messages on the screen of the LCD monitor or viewfinder are displayed in the selected language.
Move the cursor using the cross-shaped button ( 
 ) to select a language to use, followed by pressing the Set button (
  ).
).
) to select a language to use, followed by pressing the Set button ( ).The Initial Setting screen appears.
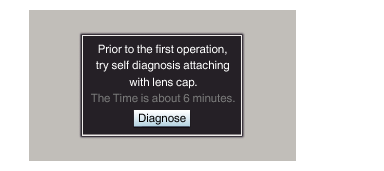
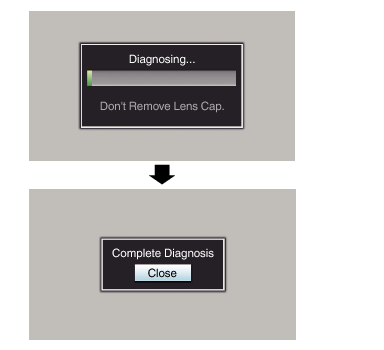
Ensure that the lens cover is closed, and press the Set button ( ).
).Self-diagnosis starts.
A progress bar appears, and “Complete Diagnosis” appears when the diagnosis is complete.
Memo
It takes about 6 minutes to complete the diagnosis. During the diagnosis, do not operate or turn off the camera recorder.
Press the Set button ( ) after confirming the exit screen.
) after confirming the exit screen.The [Initial Setting] screen appears.
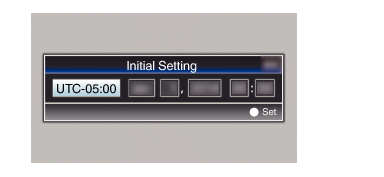
For U models
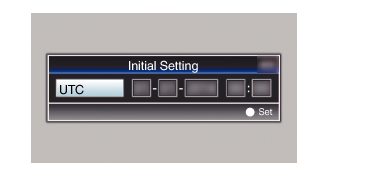
For E models
Memo
The [Initial Setting] screen appears when the power is turned on for the first time and when the power is turned on after the built-in battery is fully discharged.
The configured date/time data is saved in the built-in rechargeable battery even if the power is turned off.
Set the time zone and date/time.
Move the cursor with the cross-shaped button ( 
 ) and select the setting item.
) and select the setting item.Change the values with the cross-shaped button ( ).
).Press the Set button ( ) after setting is complete.
) after setting is complete.The clock is set to 0 seconds of the input date/time.
Memo
The configured date/time data can be displayed on the LCD monitor and viewfinder and be recorded to the SD card.
The value of the year can be set in the range of “2000” to “2099”.
Changing the Time after Initial Setting
Setting the Date/Time
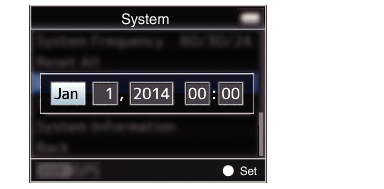
Select [System]  [Date/Time].
[Date/Time].The [Date/Time] screen appears.
For U models
For E models
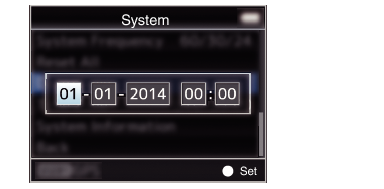
Set the date and time.
Move the cursor with the cross-shaped button ( ) and select the setting item.
) and select the setting item.Change the values with the cross-shaped button ( ).
).Press the Set button ( ) after setting is complete.
) after setting is complete.The clock is set to 0 seconds of the input date/time.
Changing the Display Style
You can change the display style of the date/time on the menu.
Setting the Date Display (Date Style)
The date display can be changed in [LCD/VF] [Display Settings] [Date Style].
Setting the Time Display (Time Style)
The time display can be changed in [LCD/VF] [Display Settings] [Time Style].
Date/Time Display in Each Operation Mode
During Camera mode:
Date/time of the built-in clock is displayed.
During Media mode:
Shooting date/time of the clip being played back is displayed.


